How to Set up User Self-Registration
If you plan to add a large amount of users without a on-premise OpenLDAP or AD server, you could use this plugin as a workaround.
How to set up user Self Registration
The purpose of this guide is to show you how to set up user Self Registration on your passbolt installation as an admin and for users how to register.
Admin Guide
Step 1. Log in with an administrator account
Step 2. Navigate to the administration tab

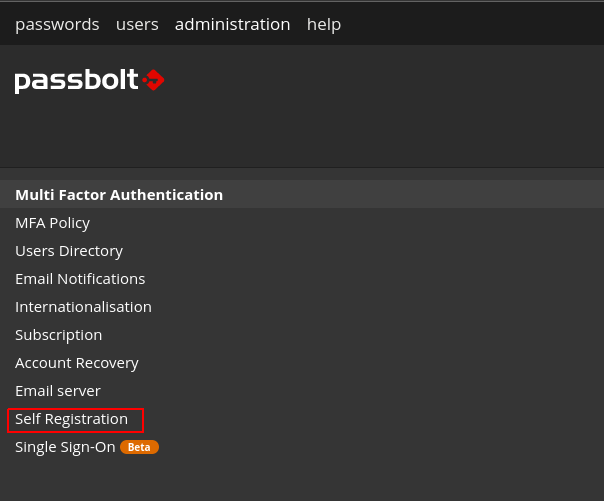
Step 3. Select the Self Registration option on the left
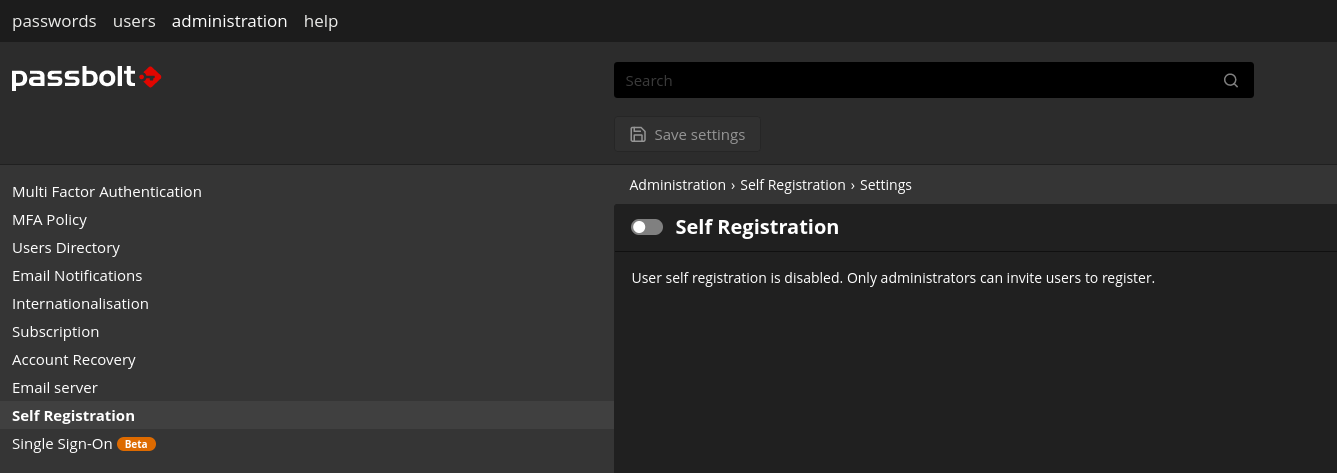
Step 4. Click the toggle to enable
Step 5. Enter the domains you want to allow to self register.
This section will require that you specify the domains you want to allow self registration on. This is used to only allow users with an email address at that domain to register.
This will allow ANY user with an email address at that domain to register. So, it is recommended to not use a free or common domain such as gmail.com here.
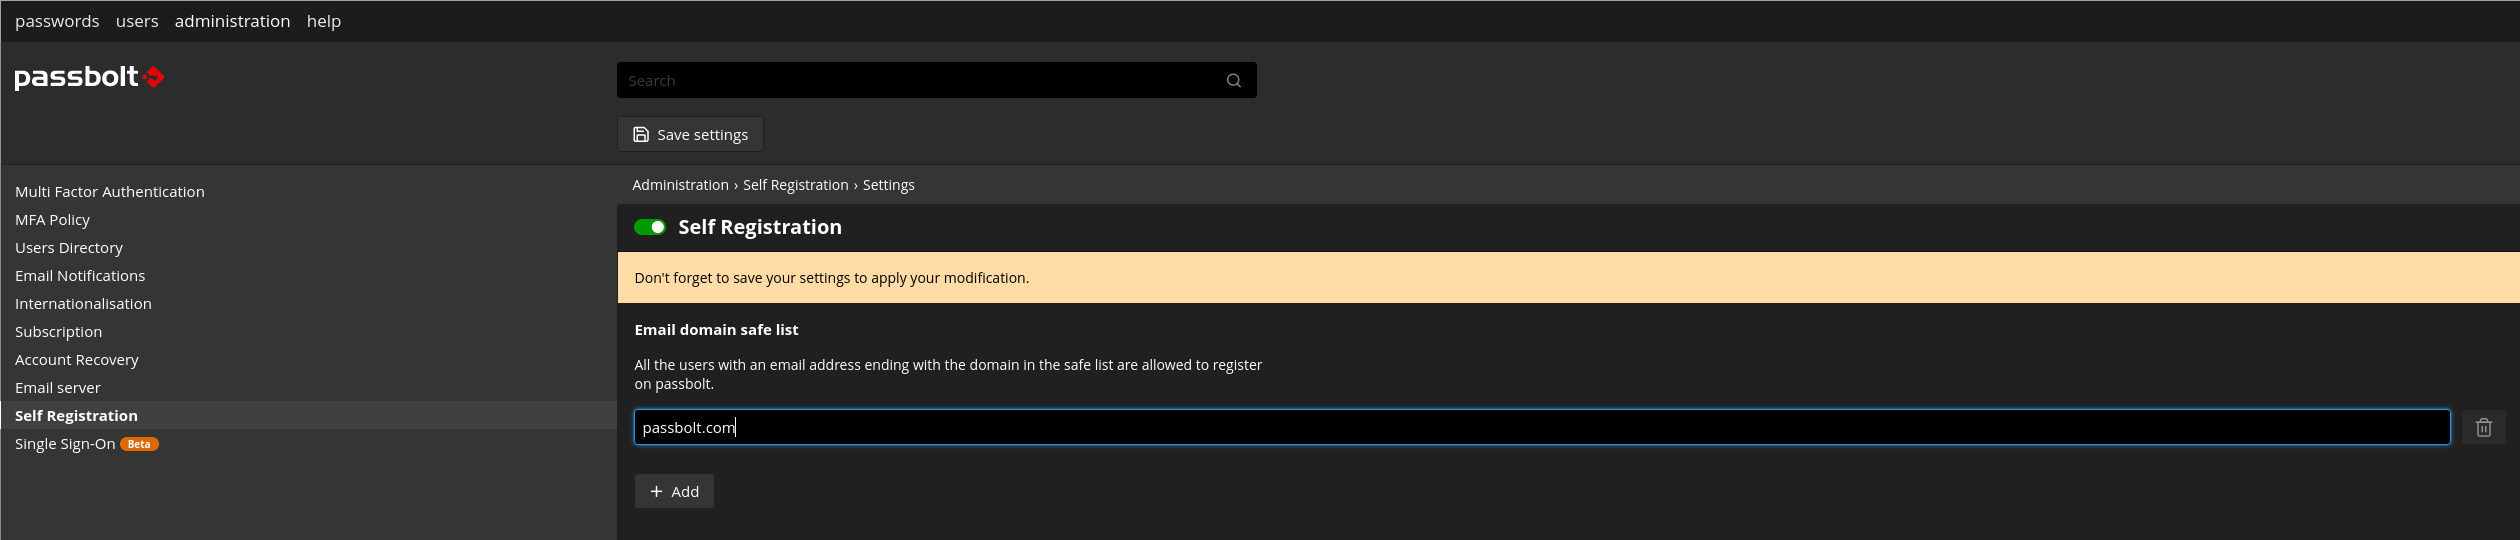
Step 6. Save your settings
Congrats! At this point you have user Self Registration set up and configured and you can let your users know!
User Guide
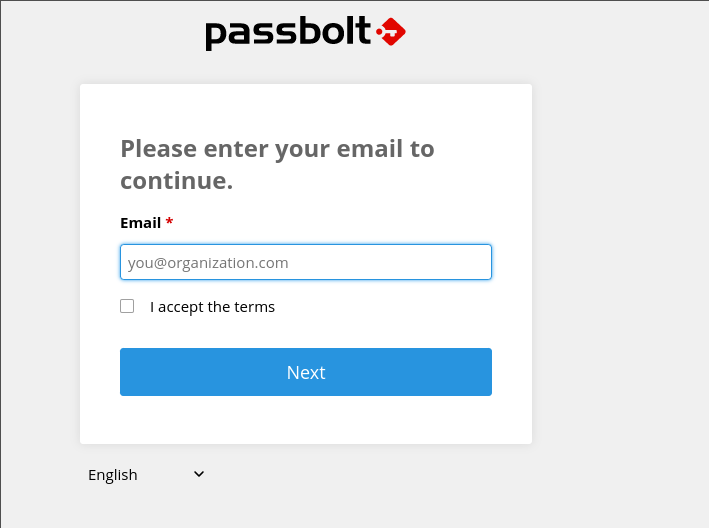
Step 1. Navigate to your Passbolt URL
Step 2. Enter your email address
Step 3. Enter your name
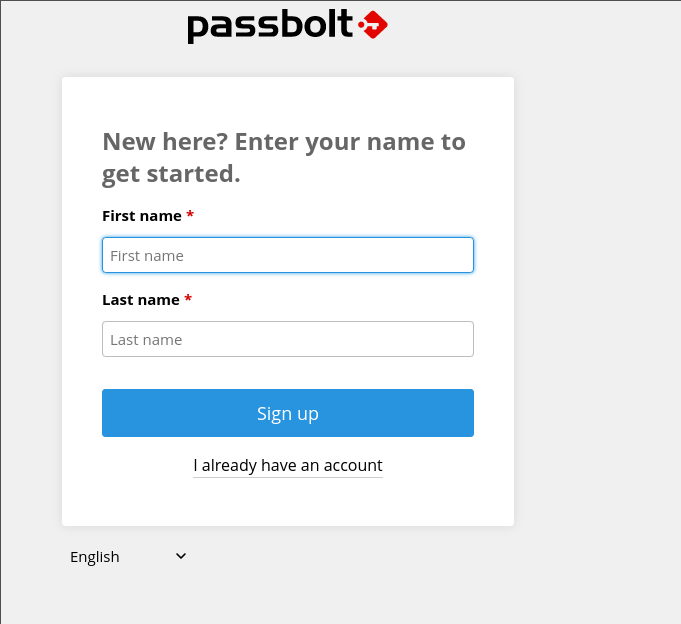
Step 4. Proceed with the standard sign up process.