Digital Ocean automatic HTTPS configuration
If you are changing your domain from HTTP to HTTPS, you will unlink all users' browser extensions. Before making this change, you must ensure that all users have a copy of their private key to recover their account.
Pro tip: To download their recovery kit, users can follow this dedicated guide
This tutorial assumes your machine has a valid domain name assigned in order to work with Let’s Encrypt.
This configuration does not support running passbolt from a subdirectory like https://mydomain.com/passbolt. It is only designed to work with a Fully Qualified Domain Name (FQDN), either on the root domain https://mydomain.com or a subdomain https://passbolt.mydomain.com.
The ACME challenge requires port 80 to be open and accessible from the internet. Some administrators disable HTTP traffic on port 80 for security reasons, but this will prevent TLS (SSL) certificate generation and renewal. Ensure port 80 is open in your firewall and not blocked by your hosting provider.
Edit nginx configuration file
By default, our nginx configuration file ensure all domain names will match with our passbolt virtual machine but to obtain a valid Let’s Encrypt SSL certificate, you will have to manually set your passbolt domain name.
Open /etc/nginx/sites-enabled/nginx-passbolt.conf and search for this line:
server_name _;
Replace the underscore with your passbolt domain name:
server_name passbolt.domain.tld;
Reconfigure passbolt
Execute this command:
sudo dpkg-reconfigure passbolt-ce-server
You most likely want to say ‘NO’ to the mariadb/mysql setup question and go for the nginx setup
The passbolt debian based package currently supports the configuration of nginx. It comes with a default configuration that supports:
- Serving passbolt on port 80 (http)
- Serving passbolt on port 443 (https)
The following steps will guide you through the option that uses Let’s encrypt method to enable SSL.
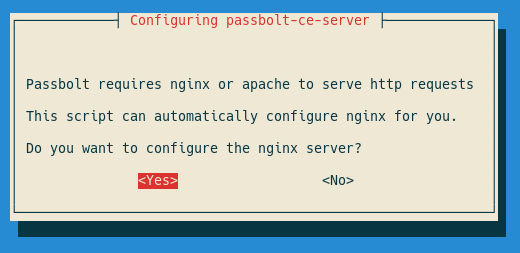
After choosing yes you will be prompted with the following dialog where you can choose which method you prefer to configure SSL on nginx:

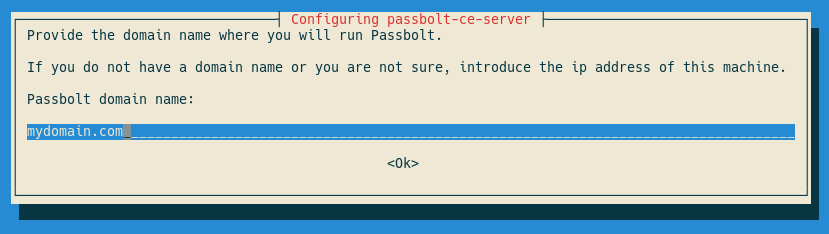
You will now need to introduce the name of the domain name assinged to your server:
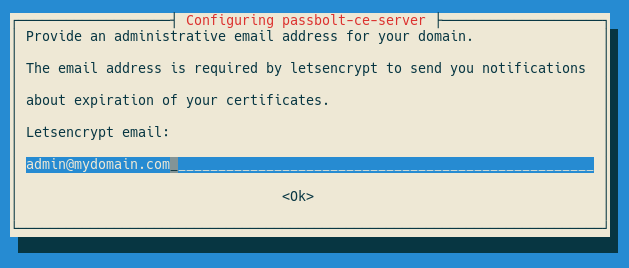
Finally you will need to provide an email address for Let’s encrypt to notify you for renewals and other admin info:
If everything goes fine you should see a final message that points you to finish passbolt configuration:

Reload nginx after finish the reconfigure to use the SSL configuration.
sudo systemctl reload nginx
Finally, ensure fullBaseUrl value in /etc/passbolt/passbolt.php starts with https://.
And that’s it you should be able to reach your server on the domain you specified.