Install Passbolt on AWS AMI
Passbolt Amazon Machine Image (AMI) provides a ready to use passbolt image that you can use for free on your Amazon Web Services infrastructure.
The AMI includes the following software:
- Debian 12
- Nginx
- Php-FPM
- MariaDB
- Passbolt PRO
- Certbot
This AMI does not provide an email server preinstalled so users can manually install it or leverage on third party email providers.
Getting started with Passbolt PRO AMI
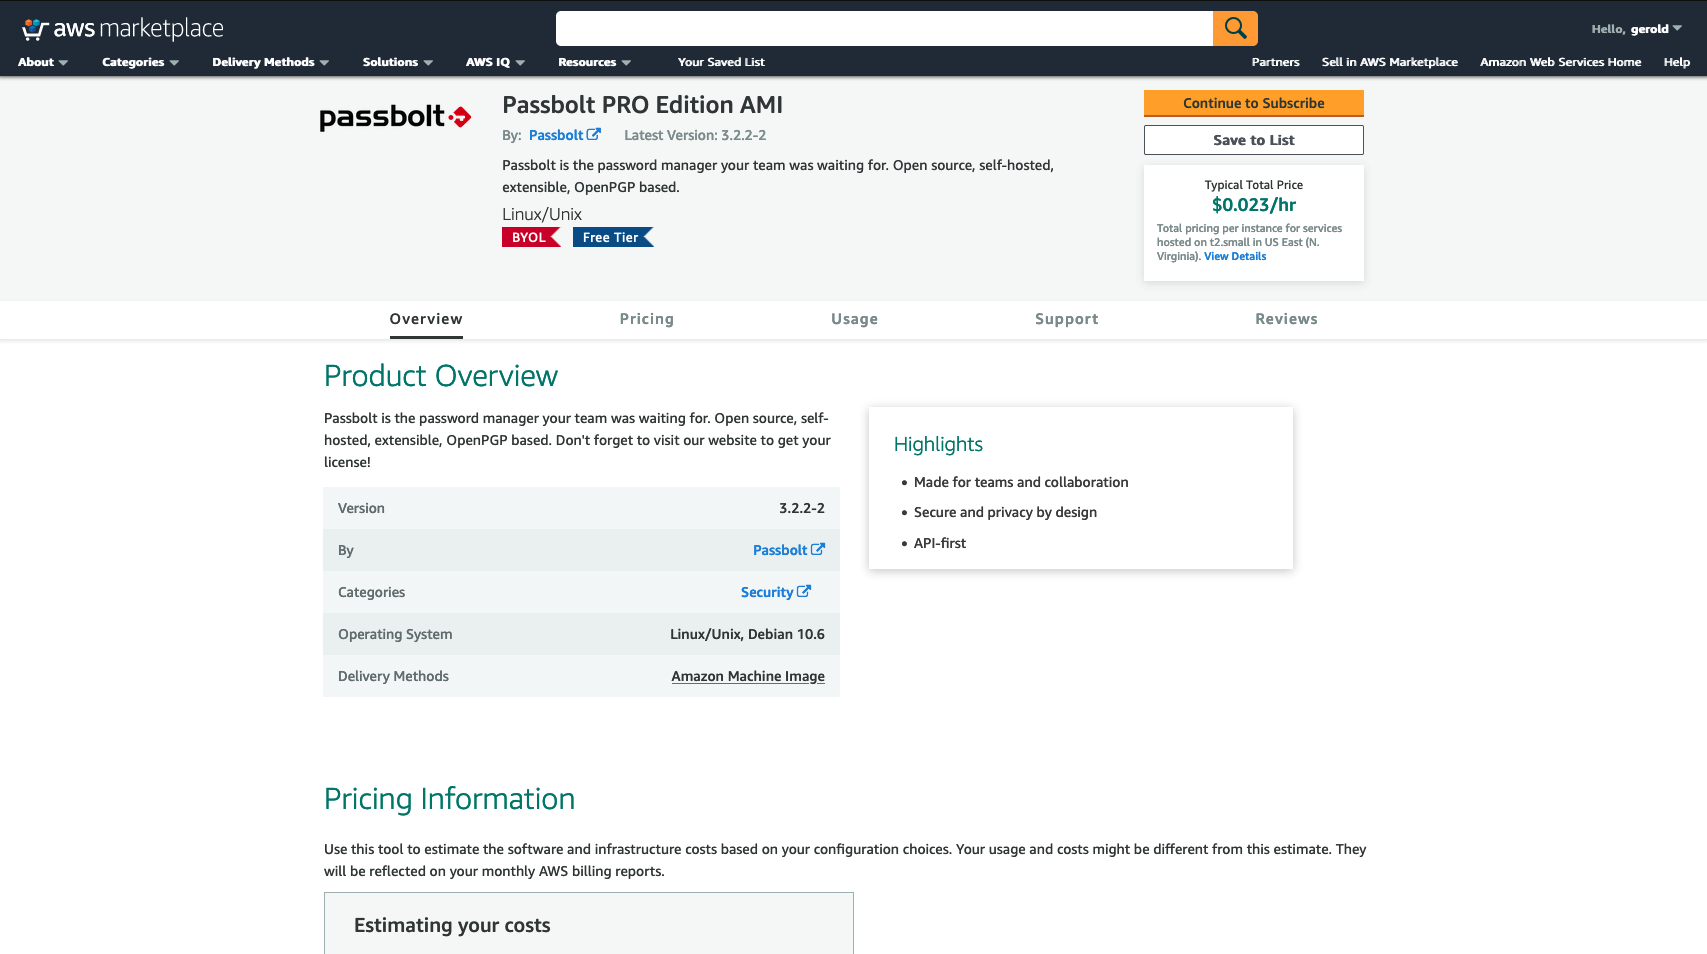
You can subscribe to Passbolt PRO on the following AWS marketplace listing. Just click on “continue to subscribe” button on the listing page.
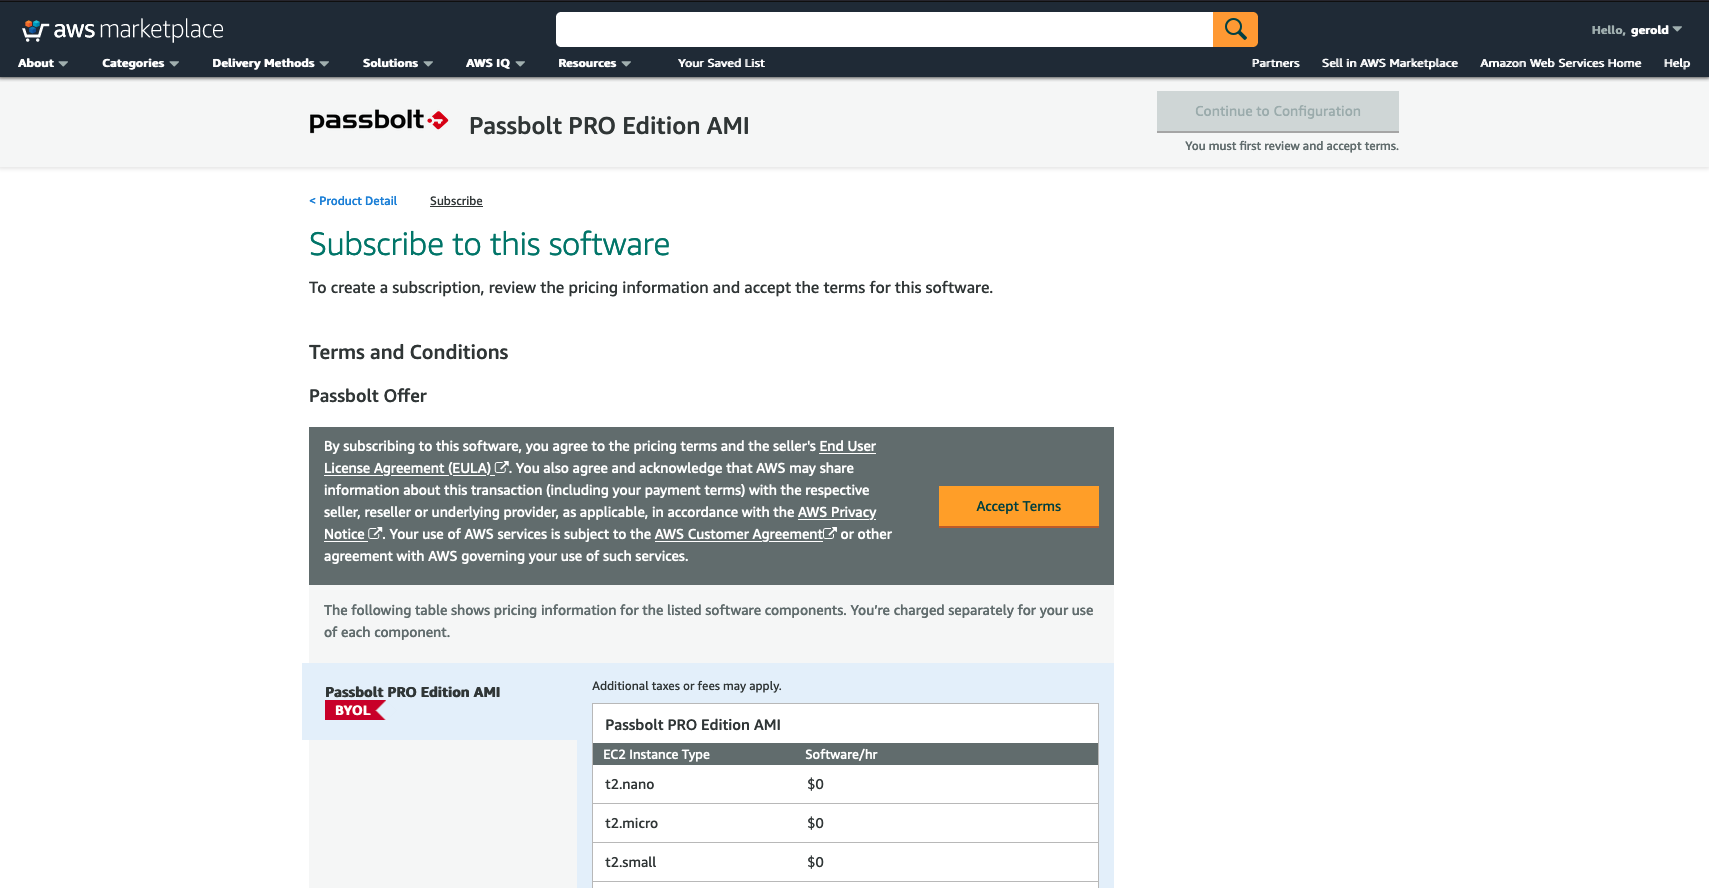
The EULA for the Passbolt PRO is the AGPL license you have to accept that in order to use this image by just clicking on the "Accept terms" button.
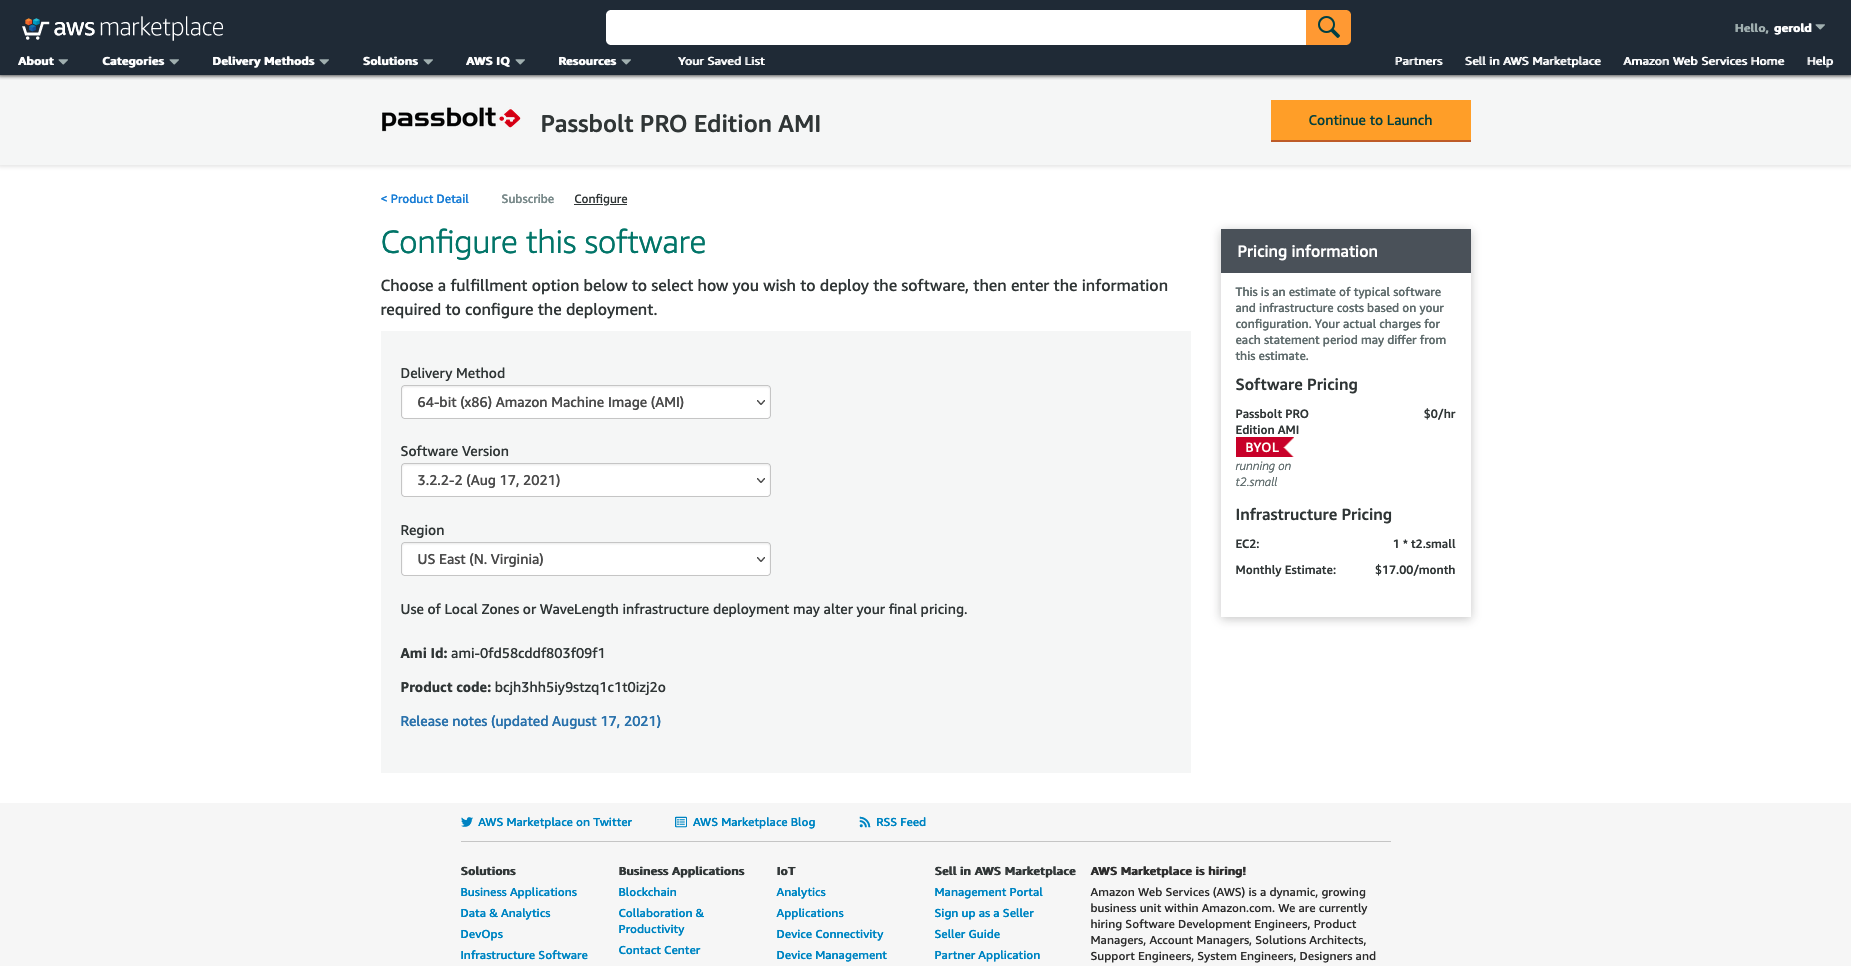
Once the terms are accepted you can click on “Continue to configuration” button. In the next screen you will be able to select which version of the AMI you want to use as well as in which AWS region you want the instance to be launched. Once you have selected your desired configuration just click on “Continue to Launch” button.
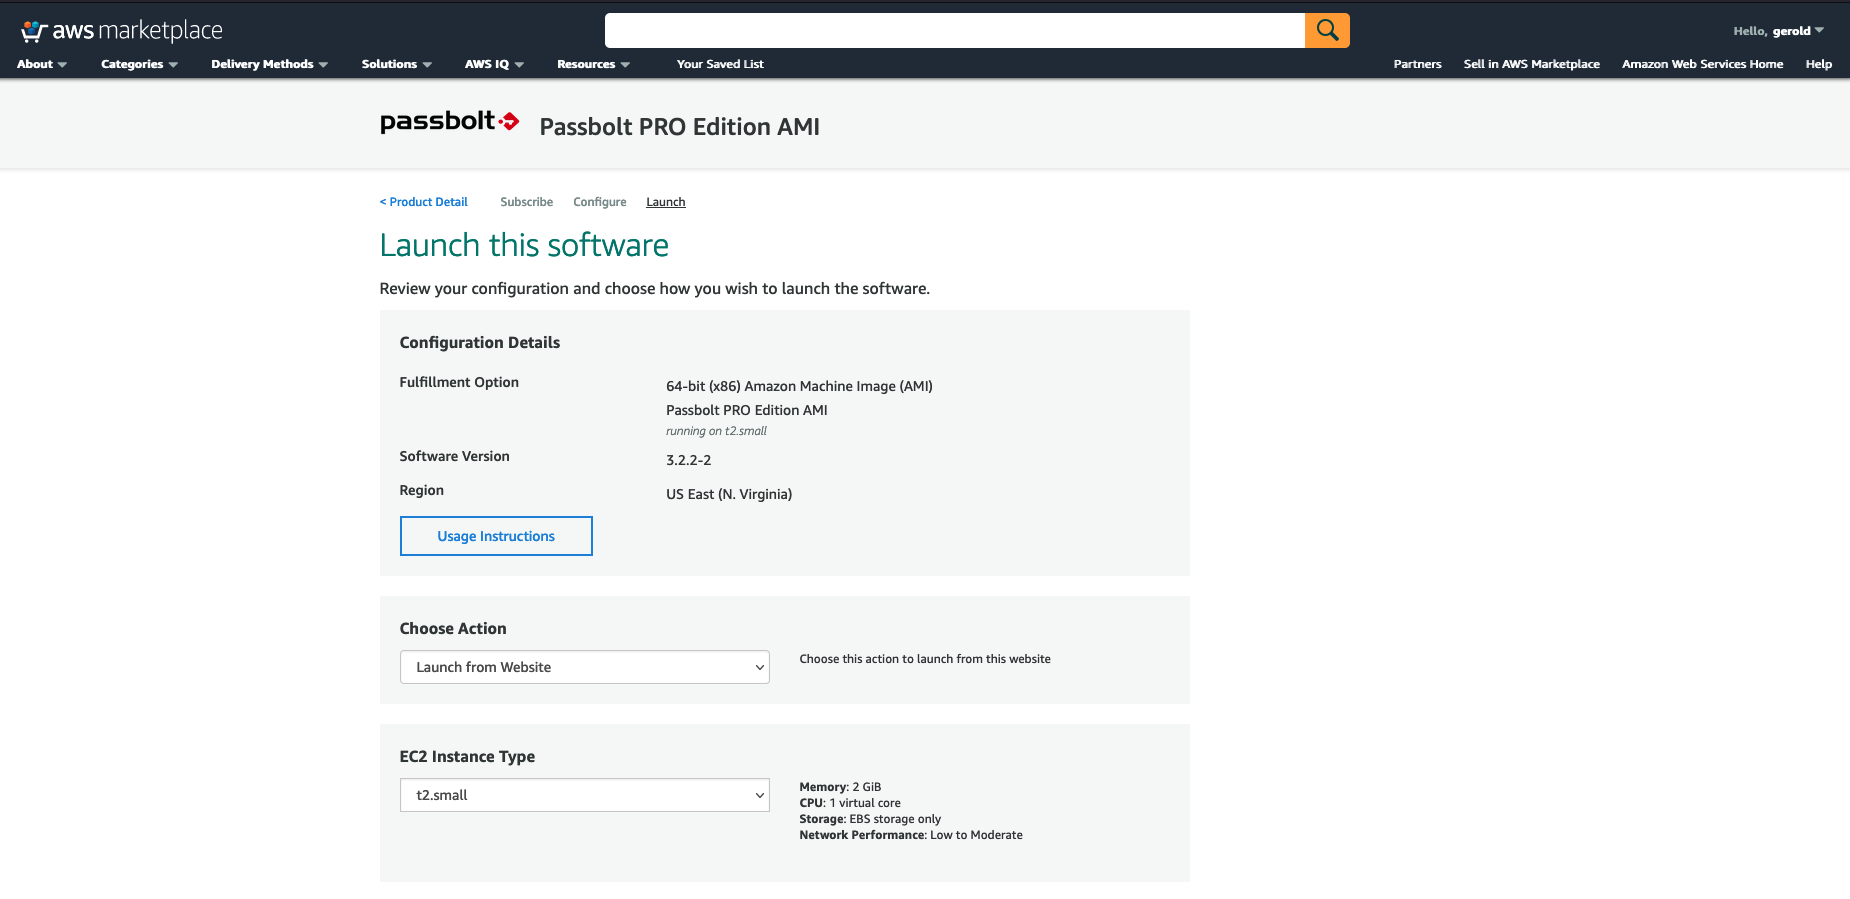
On the launch screen you will be able to select:
- How to launch the instance
- Instance type
- VPC
- Subnet settings
- Security group settings
- Key pair settings
If you do not know what this fields mean just rely on the defaults making sure that they key pair is available on your local machine so you can connect through SSH to the instance. If all the values are good just click on "Launch" button.
1.1. Setup HTTPS (optional, but highly recommended):
If you are planning to use this AWS instance in production, it is highly recommended to setup SSL. There are two main methods described below:
2. Configure passbolt
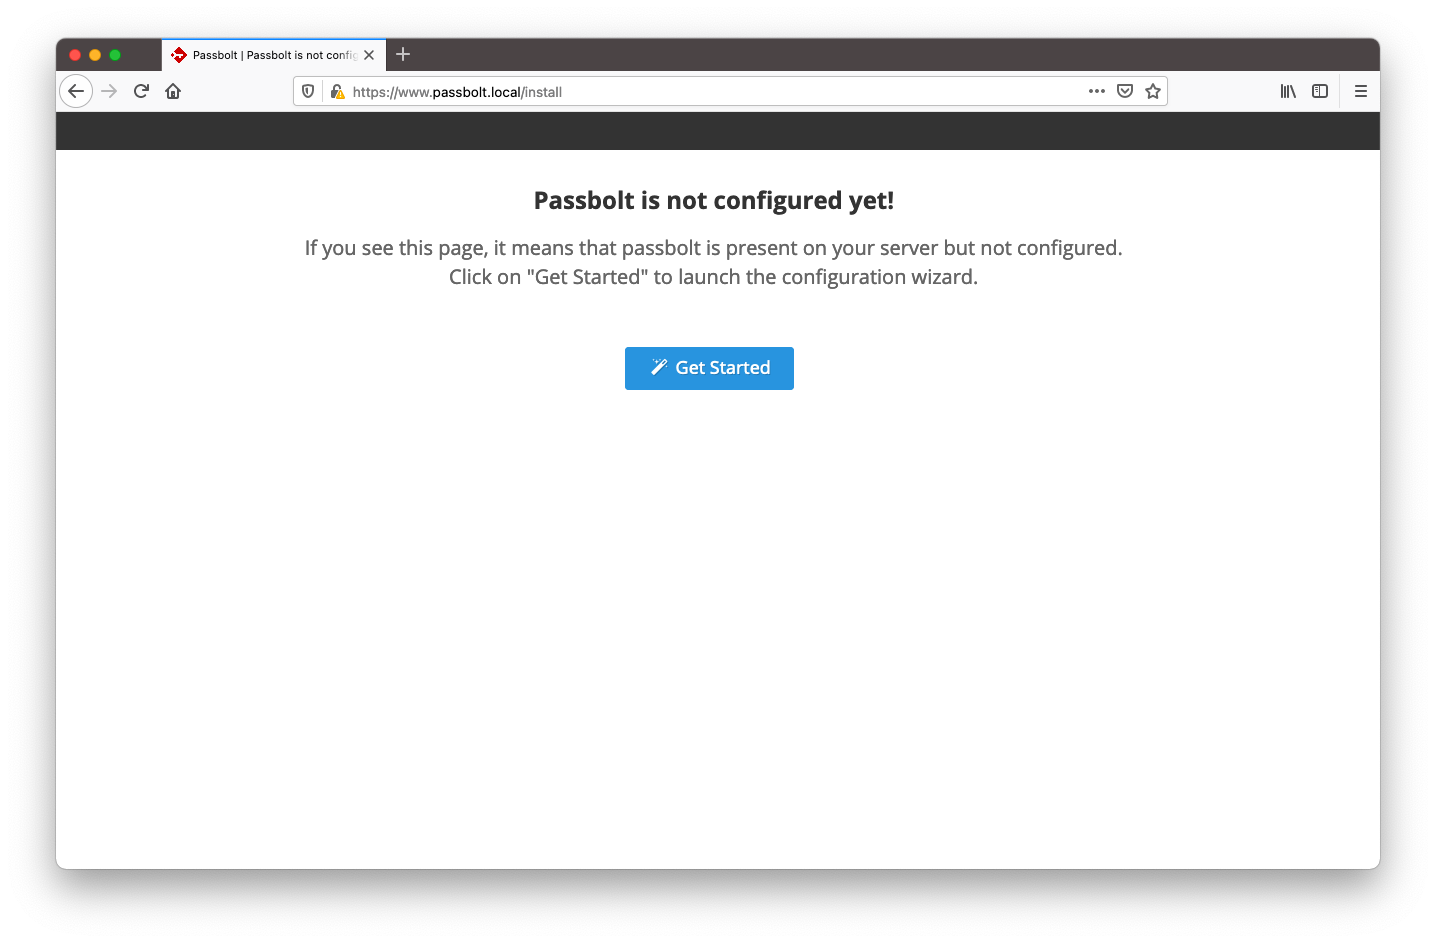
Before you can use the application, you need to configure it. Point your browser to the hostname / ip where passbolt can be reached. You will reach a getting started page.
2.1. Healthcheck
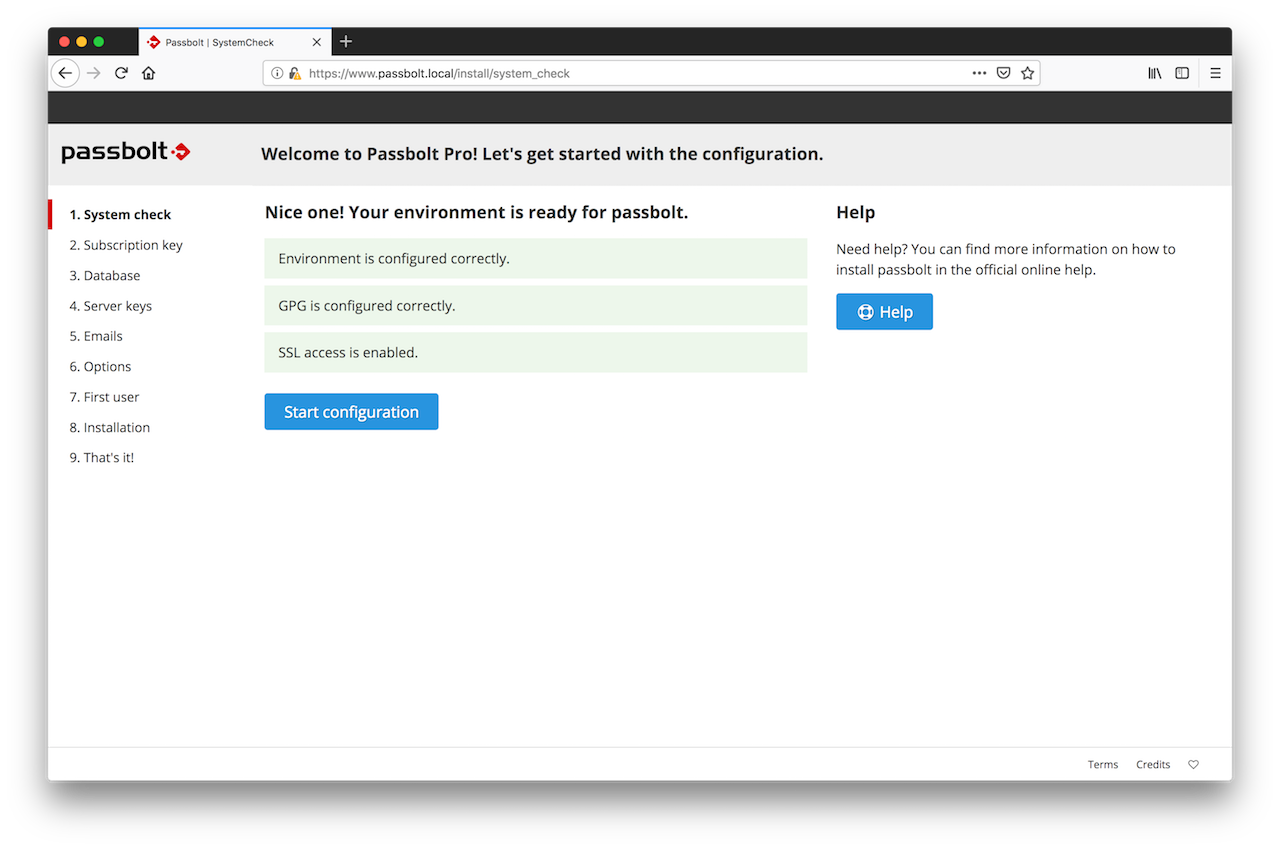
The first page of the wizard will tell you if your environment is ready for passbolt. Solve issues if any and click on "Start configuration" when ready.
2.2. Subscription Key
At this step, the wizard will ask you for your subscription key. You should have received it by email soon after your online purchase. Enter it in the box.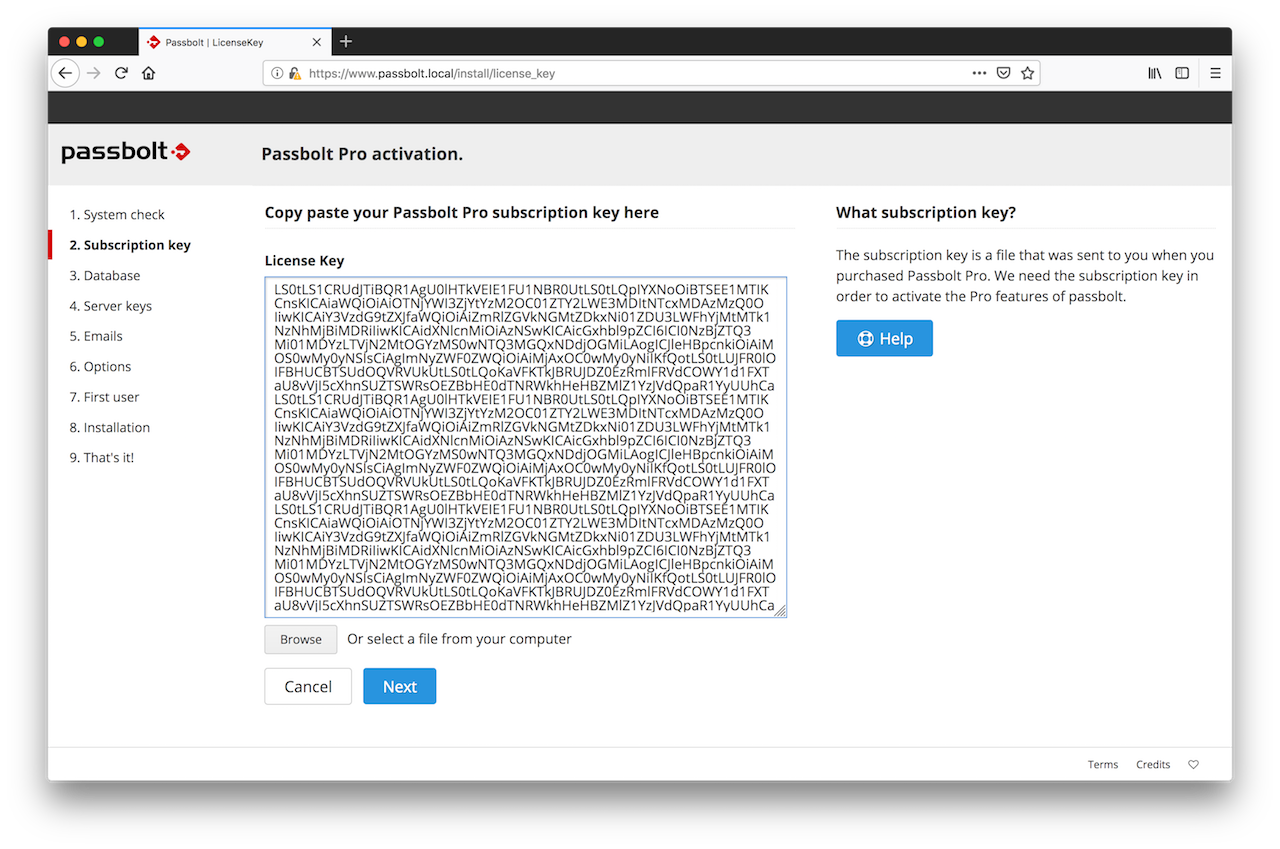
2.3. Database
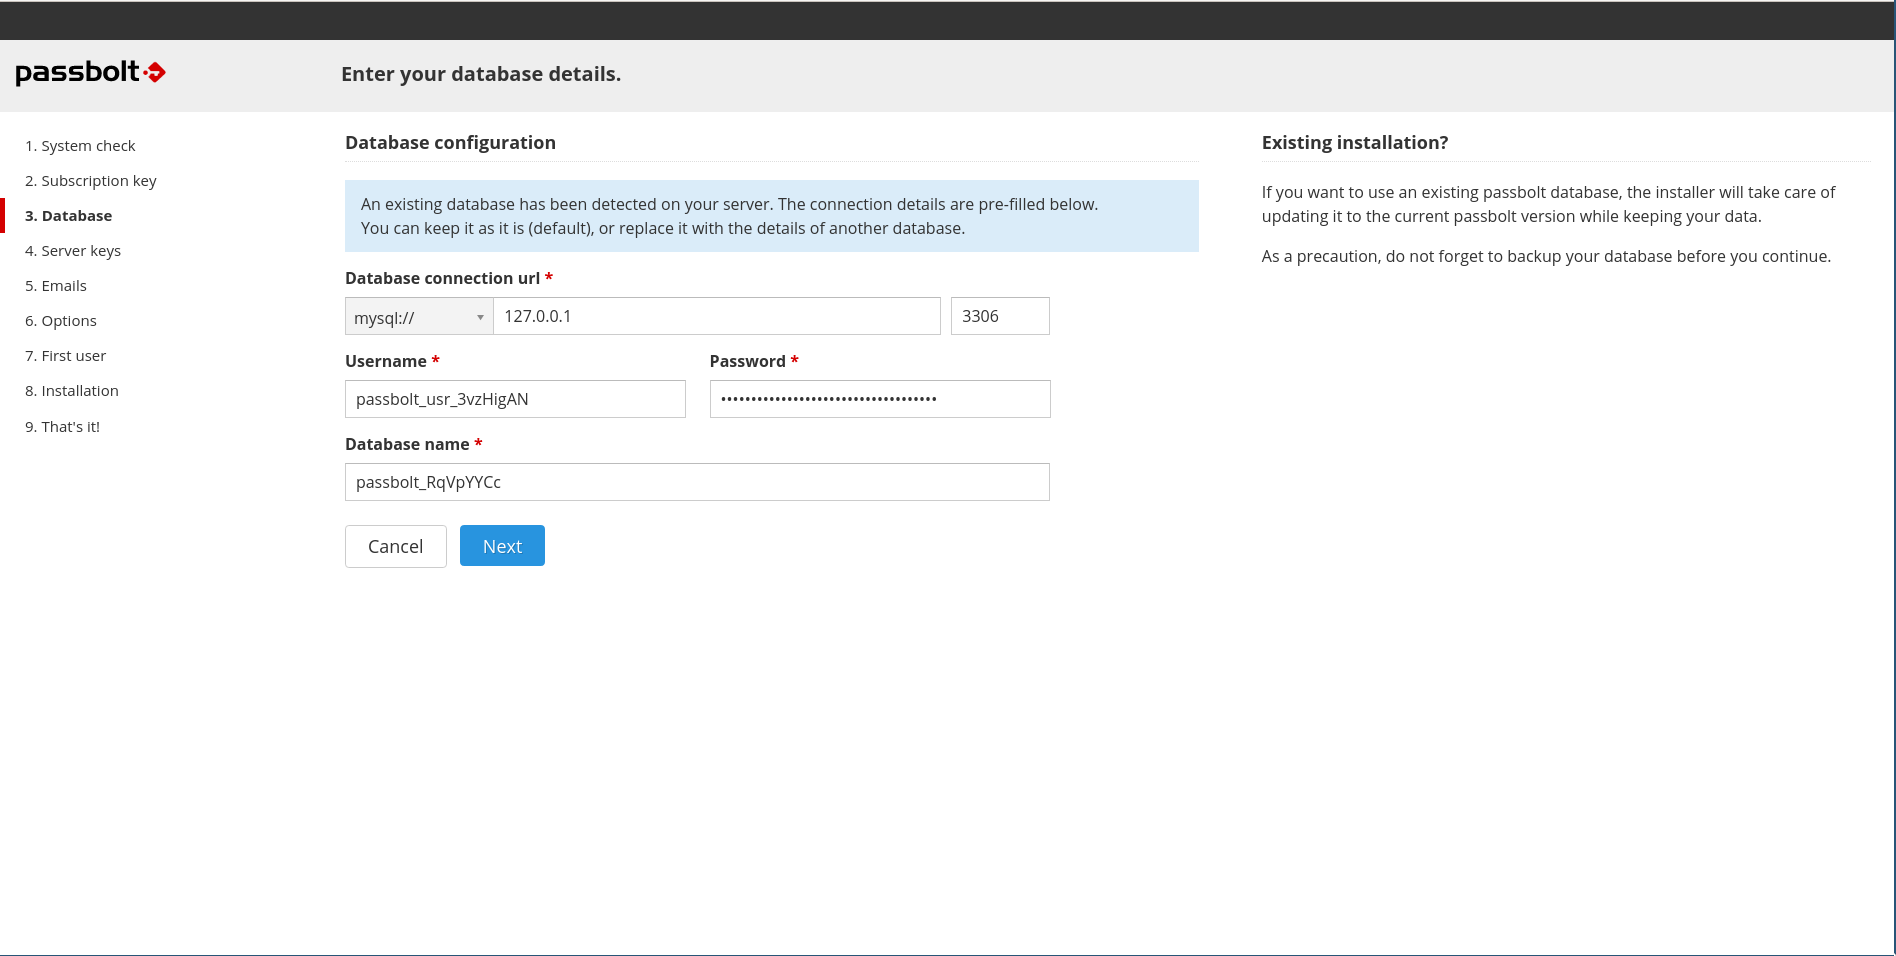
Passbolt AWS AMI comes with a preinstalled mariadb database. The credentials for this database are randomly generated on the first boot and the webinstaller autofills those credentials for you.
The autogenerated database credentials will be available for later use by administrators in /etc/passbolt/passbolt.php file.
If you decide to use the autogenerated credentials you can click the "Next" button and move to the next step on this tutorial.
Optional: In case you do not want to use the autogenerated mariadb credentials you could connect through ssh to your instance and use the mariadb root credentials to create a new user, password and database for passbolt to use:
ssh admin@your_domain|instance_ipYou can find the root database credentials in /root/.mysql_credentials file:
sudo cat /root/.mysql_credentialsOnce you have the root database credentials you can connect to the local mariadb and create any database and user you want to use to install passbolt.
2.4. GPG Key
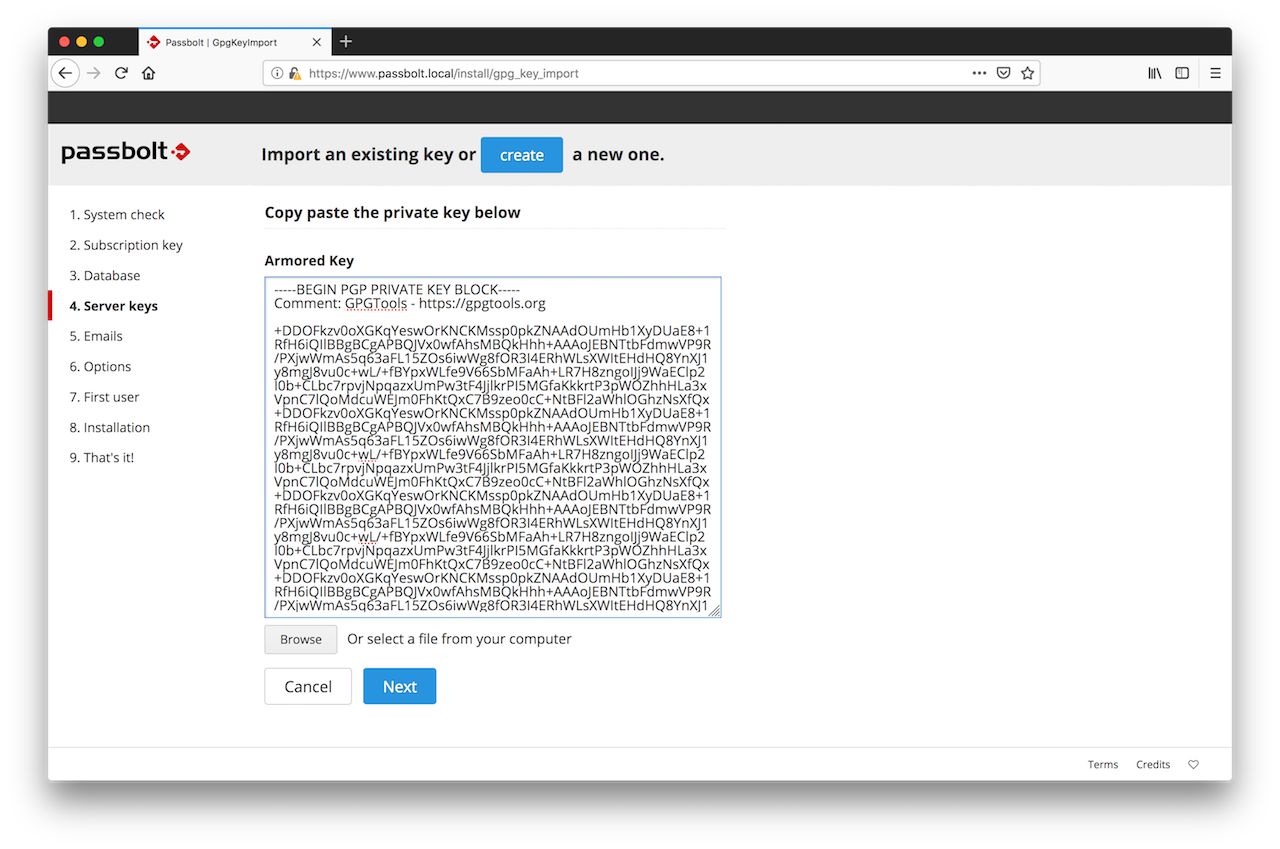
In this section you can either generate or import a GPG key pair. This key pair will be used by passbolt API to authenticate itself during the login handshake process. Generate a key if you don't have one.
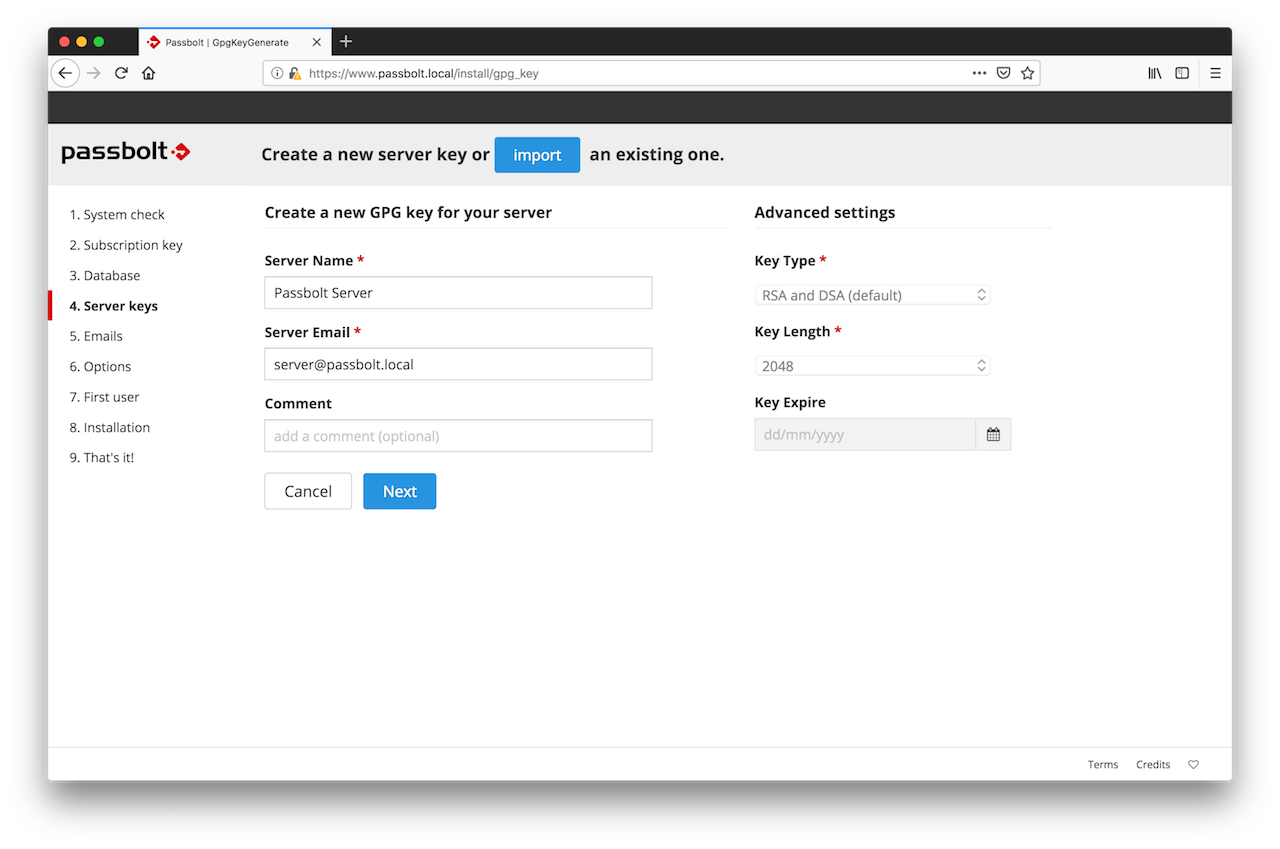
Import a key if you already have one and you want your server to use it.
Since GnuPG 2.2.0+, the default key type is ECC (Curve25519/Ed25519) instead of RSA. However, ECC keys may not support passphrase-less generation reliably across all environments or configurations. We recommend using RSA explicitly to ensure consistent passphrase-less key generation.
To create a new GnuPG key without passphrase:
gpg --batch --no-tty --gen-key <<EOF
  Key-Type: RSA
  Key-Length: 3072
  Key-Usage: sign,cert
  Subkey-Type: RSA
  Subkey-Usage: encrypt
  Subkey-Length: 3072
  Name-Real: John Doe
  Name-Email: [email protected]
  Expire-Date: 0
  %no-protection
  %commit
EOF
Feel free to replace Name-Real and Name-Email with your own.
To display your new key:
gpg --armor --export-secret-keys [email protected]
2.5. Mail Server (SMTP)
At this stage, the wizard will ask you to enter the details of your SMTP server.
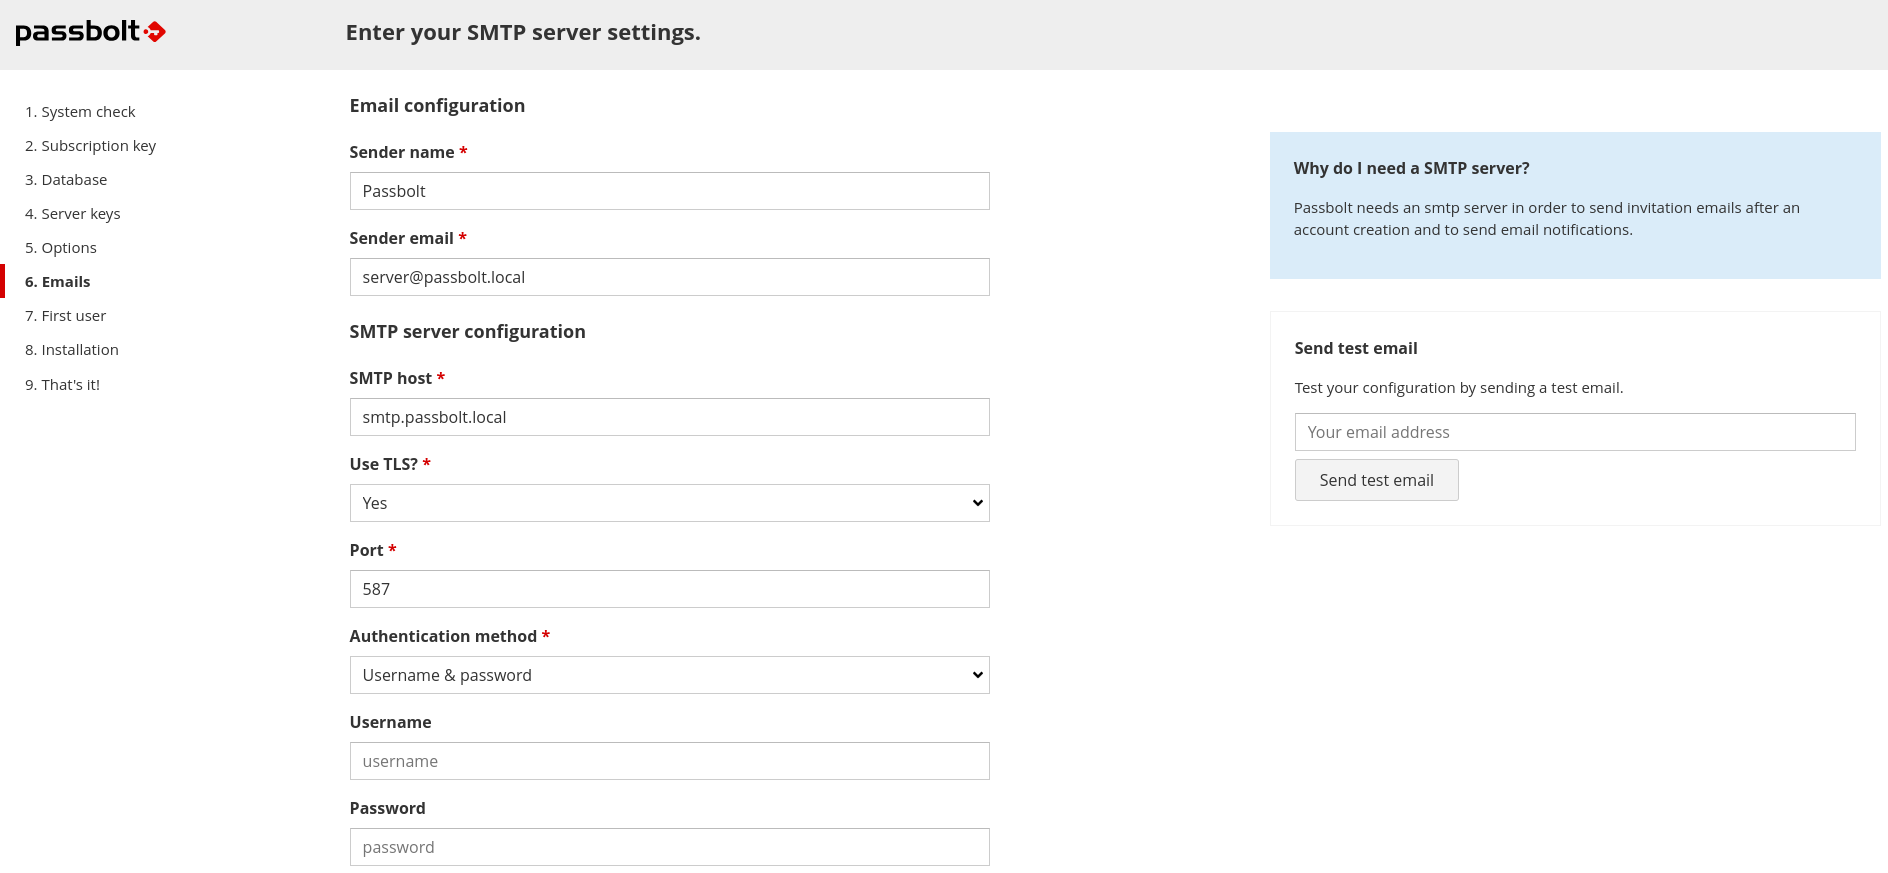
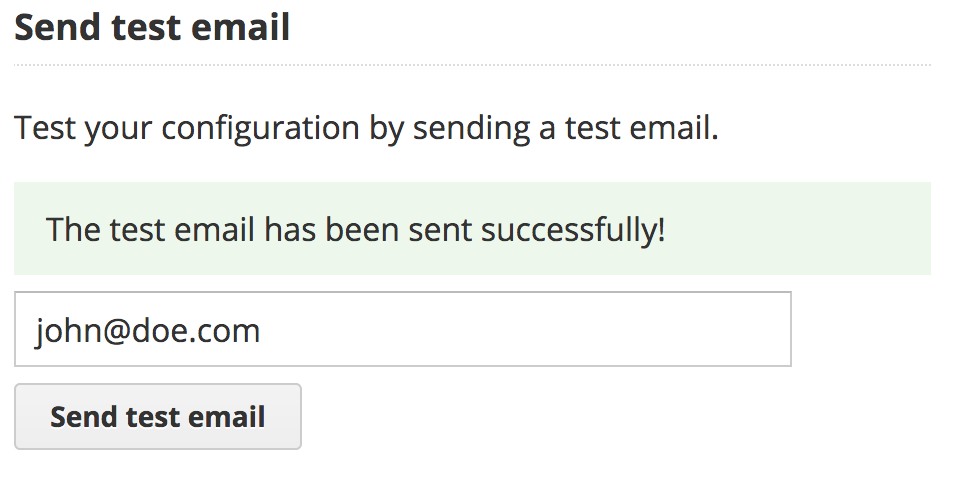
You can also test that your configuration is correct by using the test email feature at the right of your screen. Enter the email address at which you want the wizard to send you a test email and click on "Send test email".
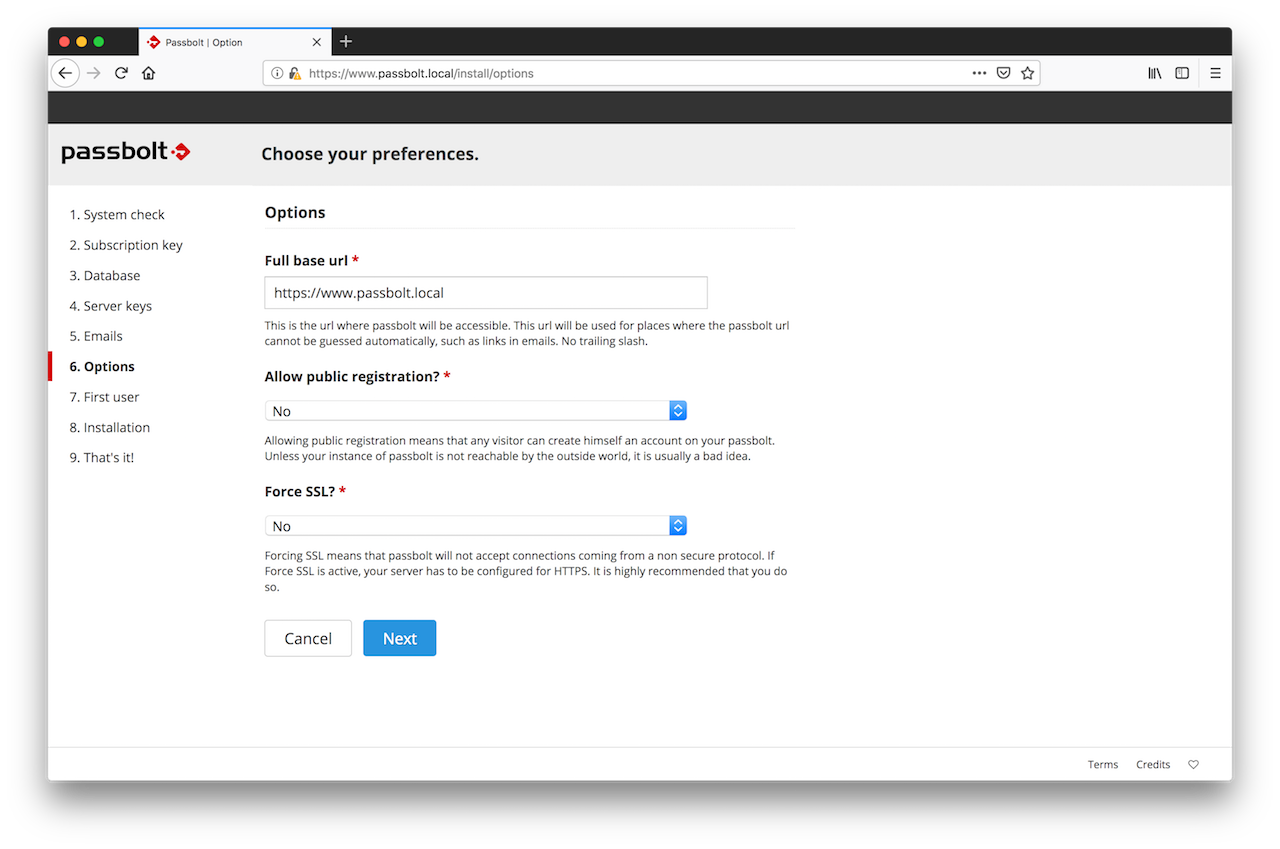
2.6. Preferences
The wizard will then ask you what preferences you prefer for your instance of passbolt. The recommended defaults are already pre-populated but you can also change them if you know what you are doing.
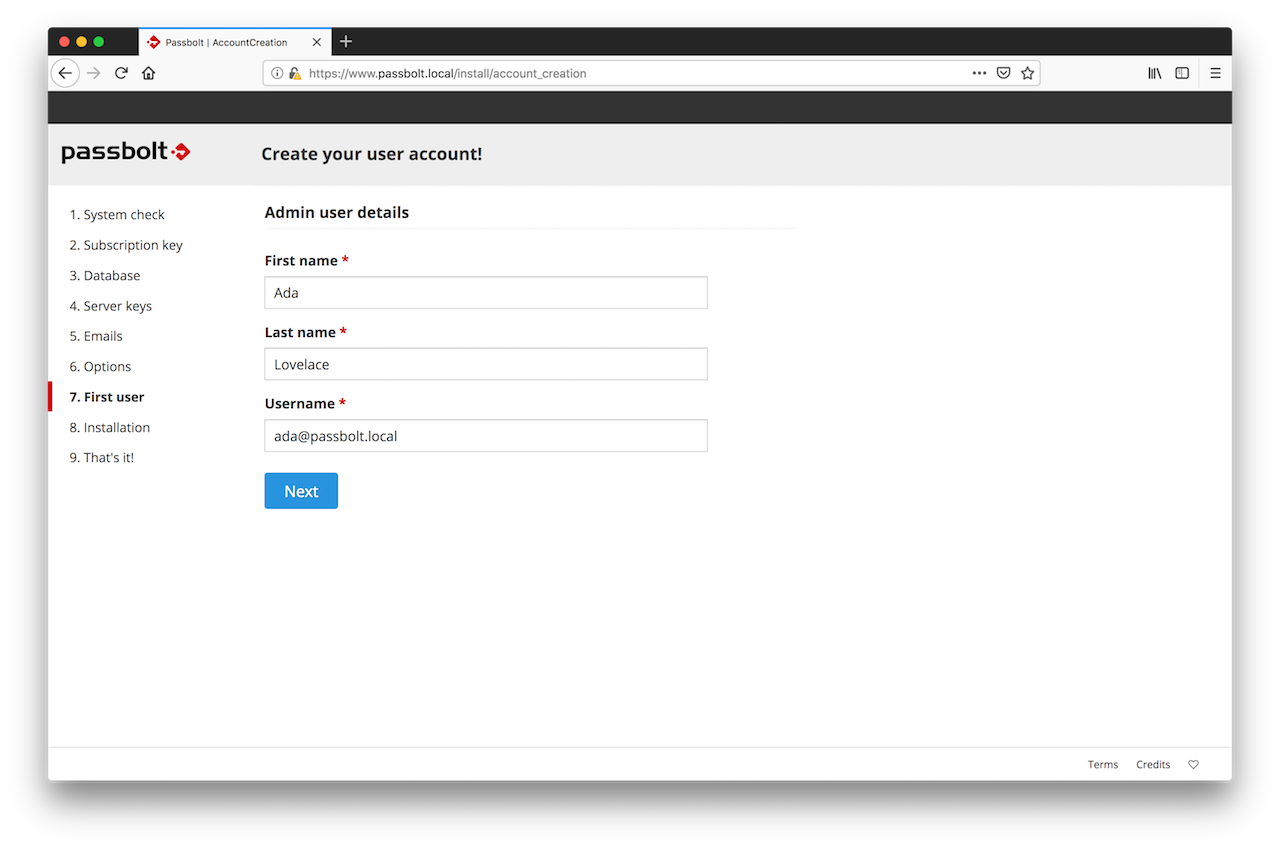
2.7. First User Creation
You need to create the first admin user account. This first admin user is probably you, so enter your details and click on next.
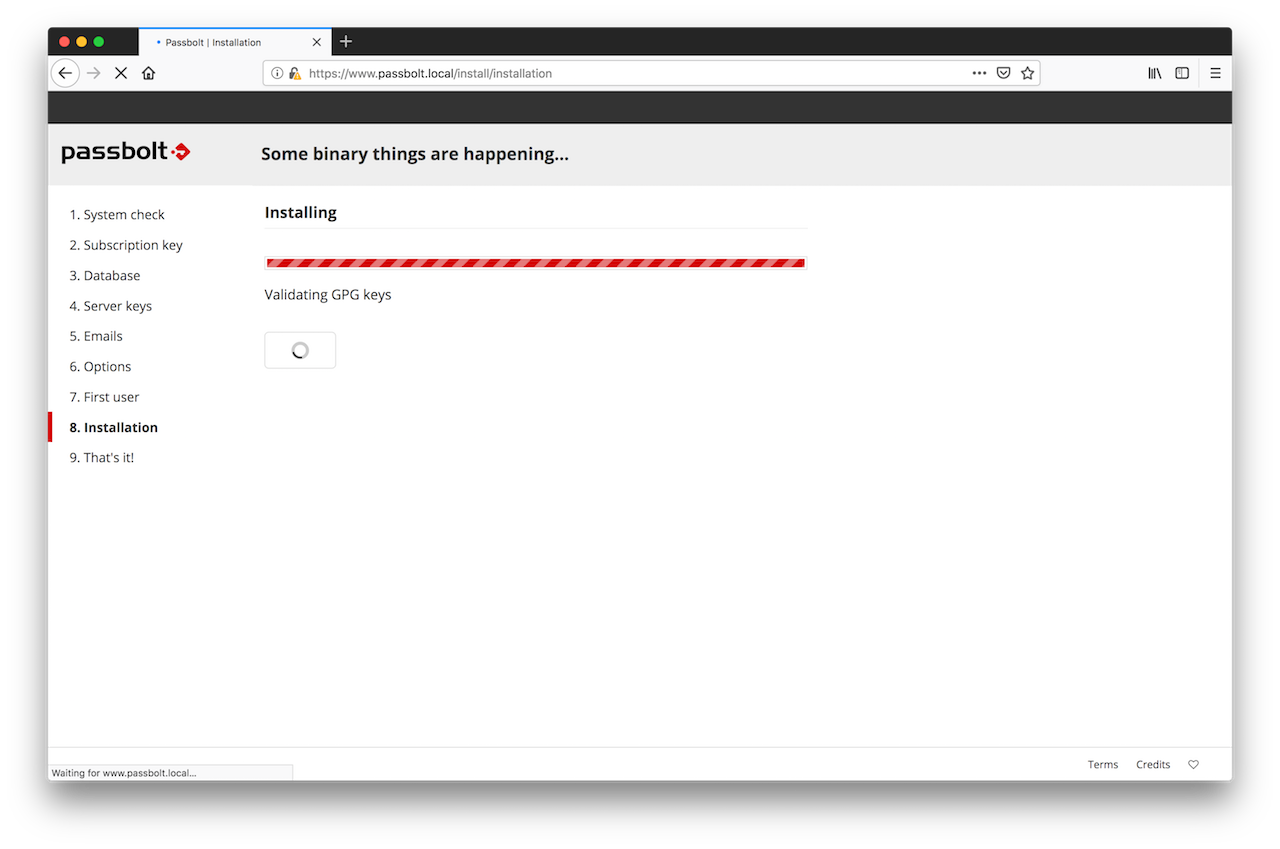
2.8. Installation
That's it. The wizard has now enough information to proceed with the configuration of passbolt. Sit back and relax for a few seconds while the configuration process is going on.
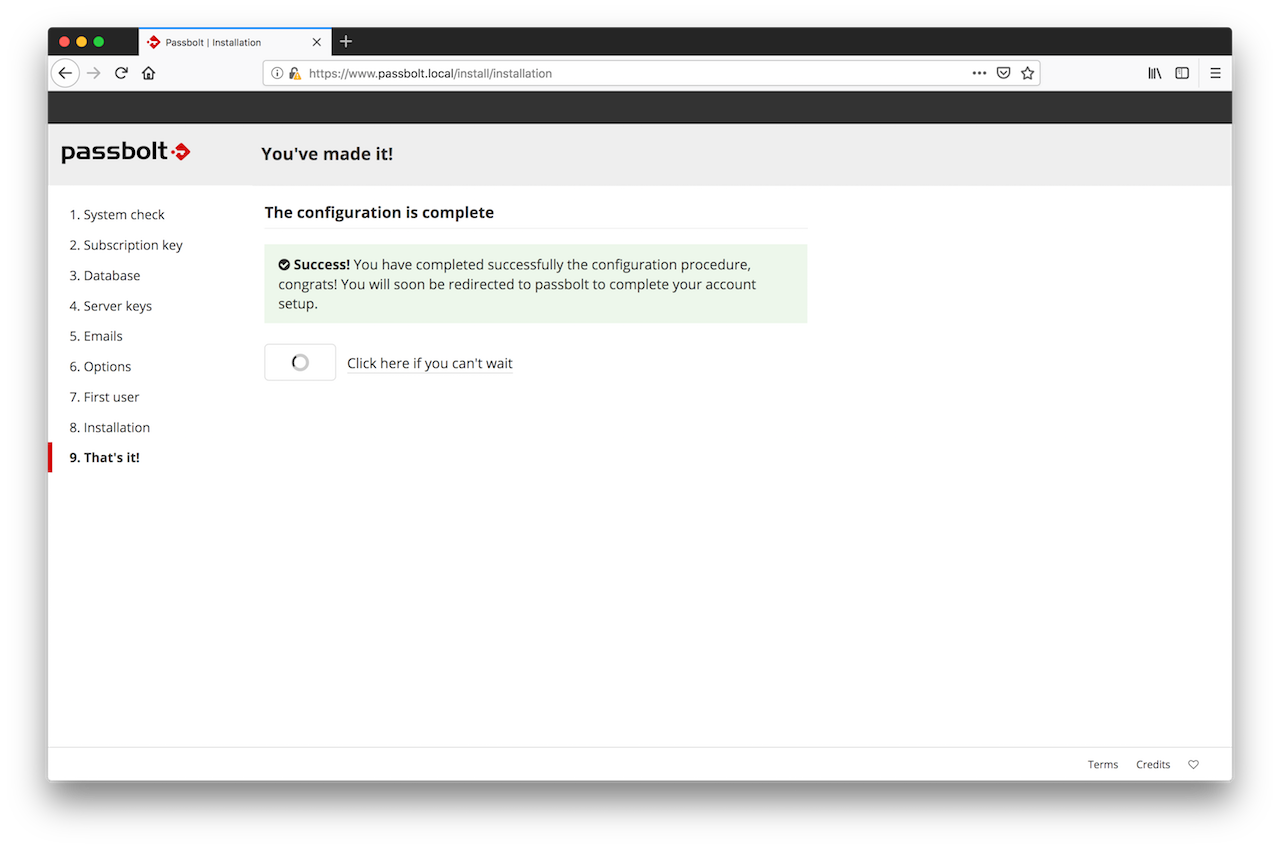
Your user account is now created. You will see a redirection page for a few second and then will be redirected to the user setup process so that you can configure your user account.
3. Configure your administrator account
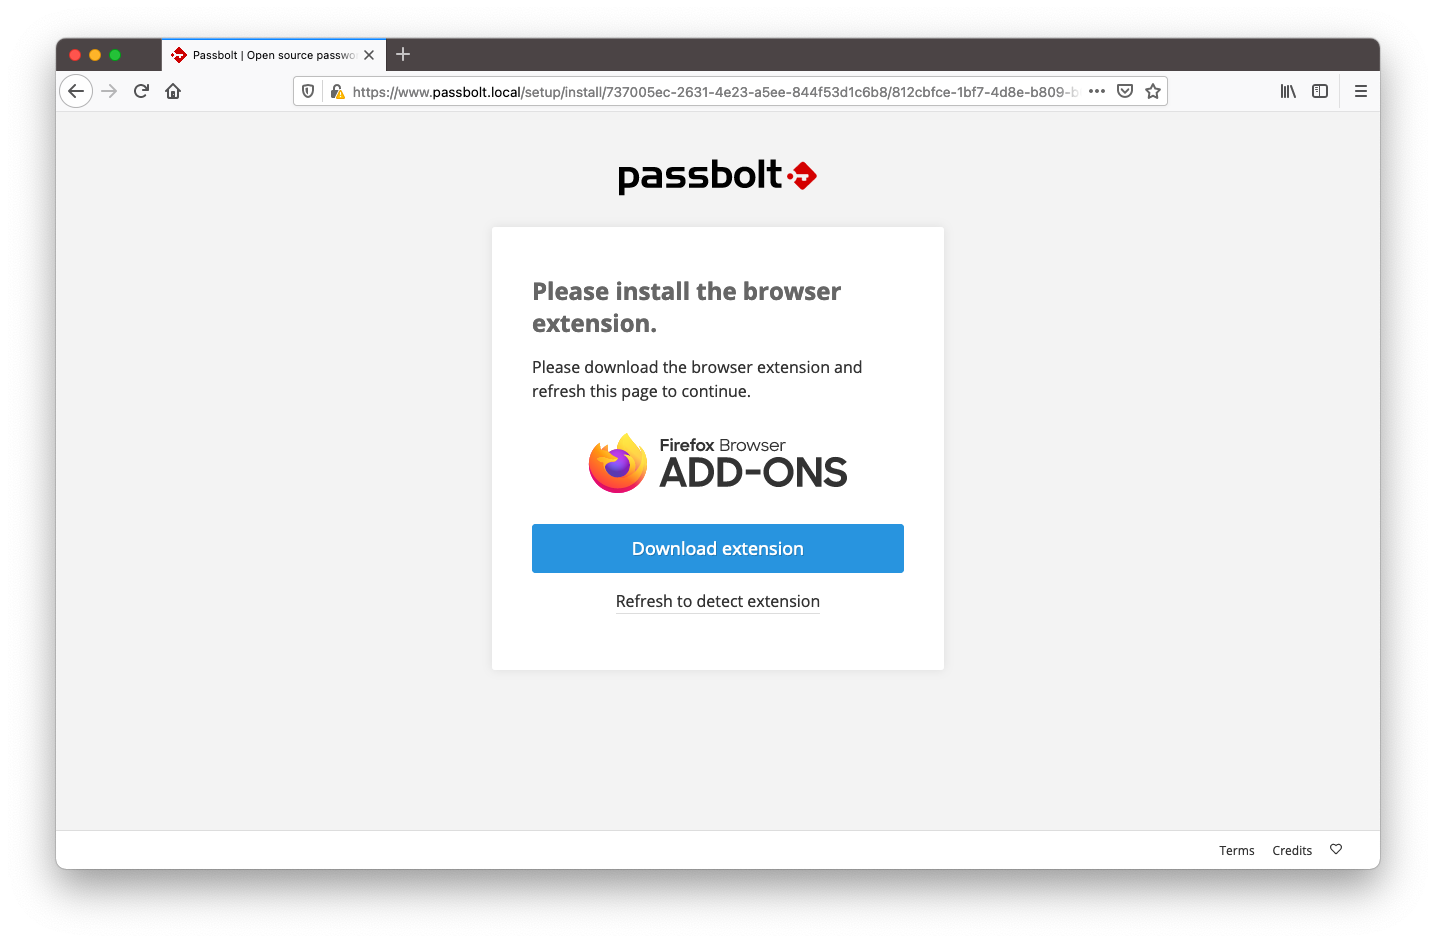
3.1. Download the browser extension
Before continuing passbolt will require you to download its browser extension. If you already have it installed you can go to the next step.
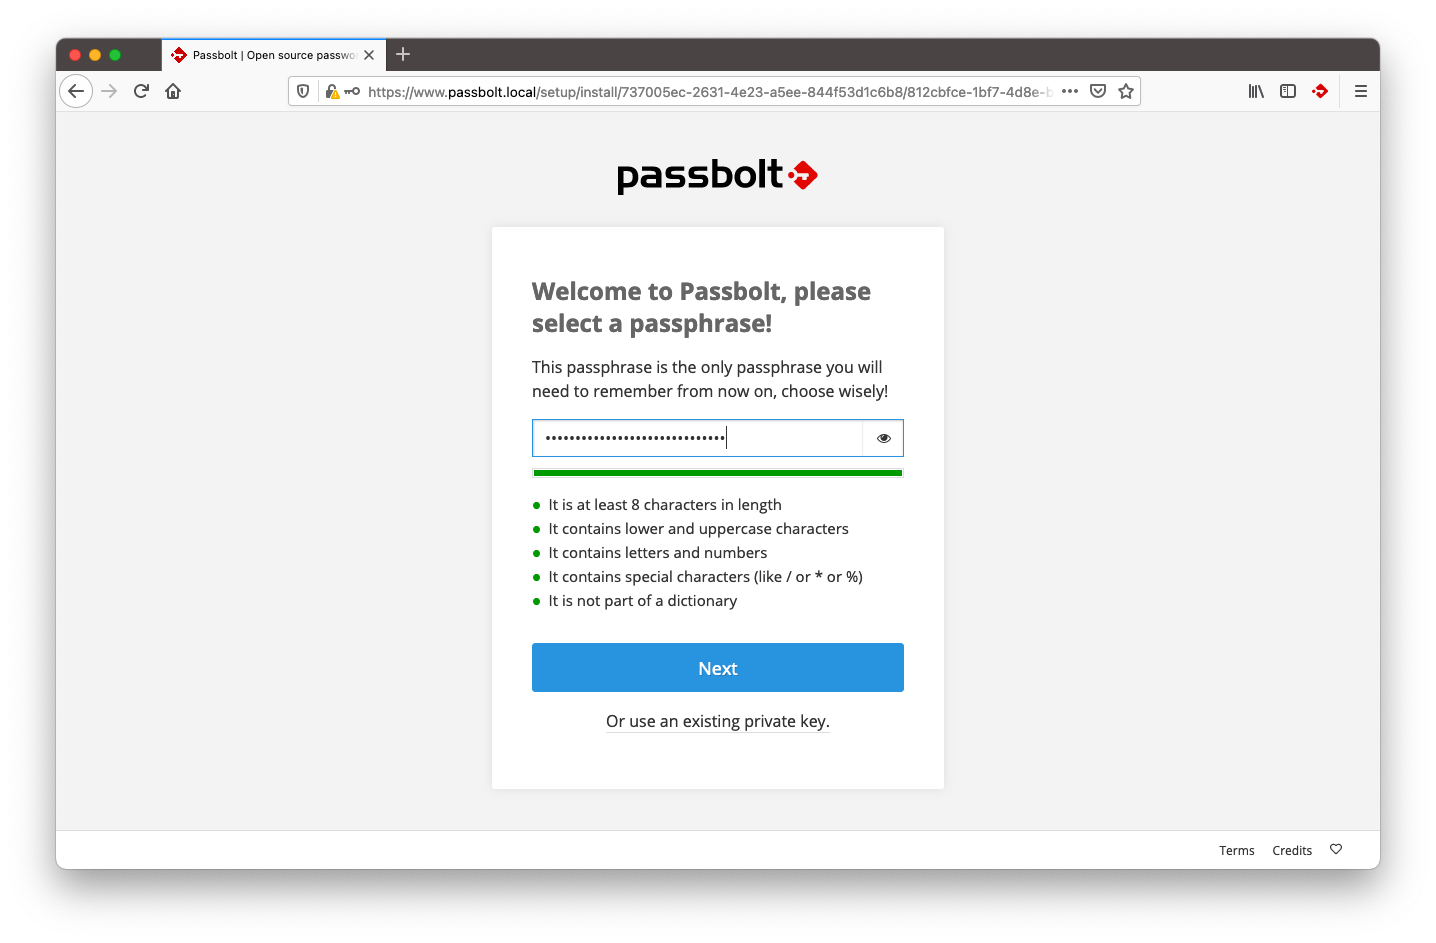
3.2. Create a new key
Passbolt will ask you to create or import a key that will be later use to identify you and encrypt your passwords. Your key needs to be protected by a password. Choose it wisely, it will be the gatekeeper to all your other passwords.
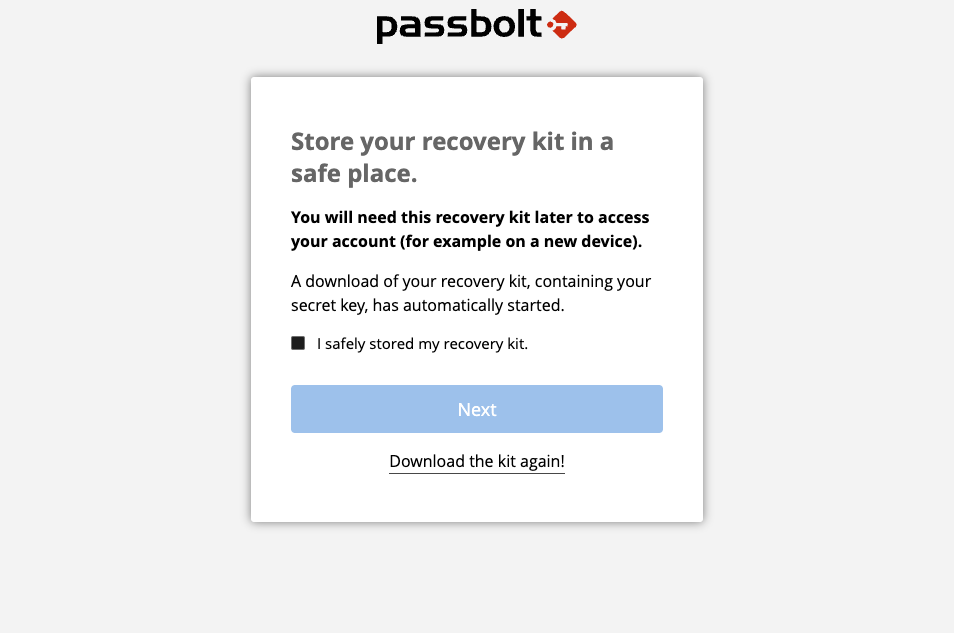
3.3. Download your recovery kit
This step is essential. Your key is the only way to access your account and passwords. If you lose this key (by breaking or losing your computer and not having a backup for example), your encrypted data will be lost even if you remember your passphrase.
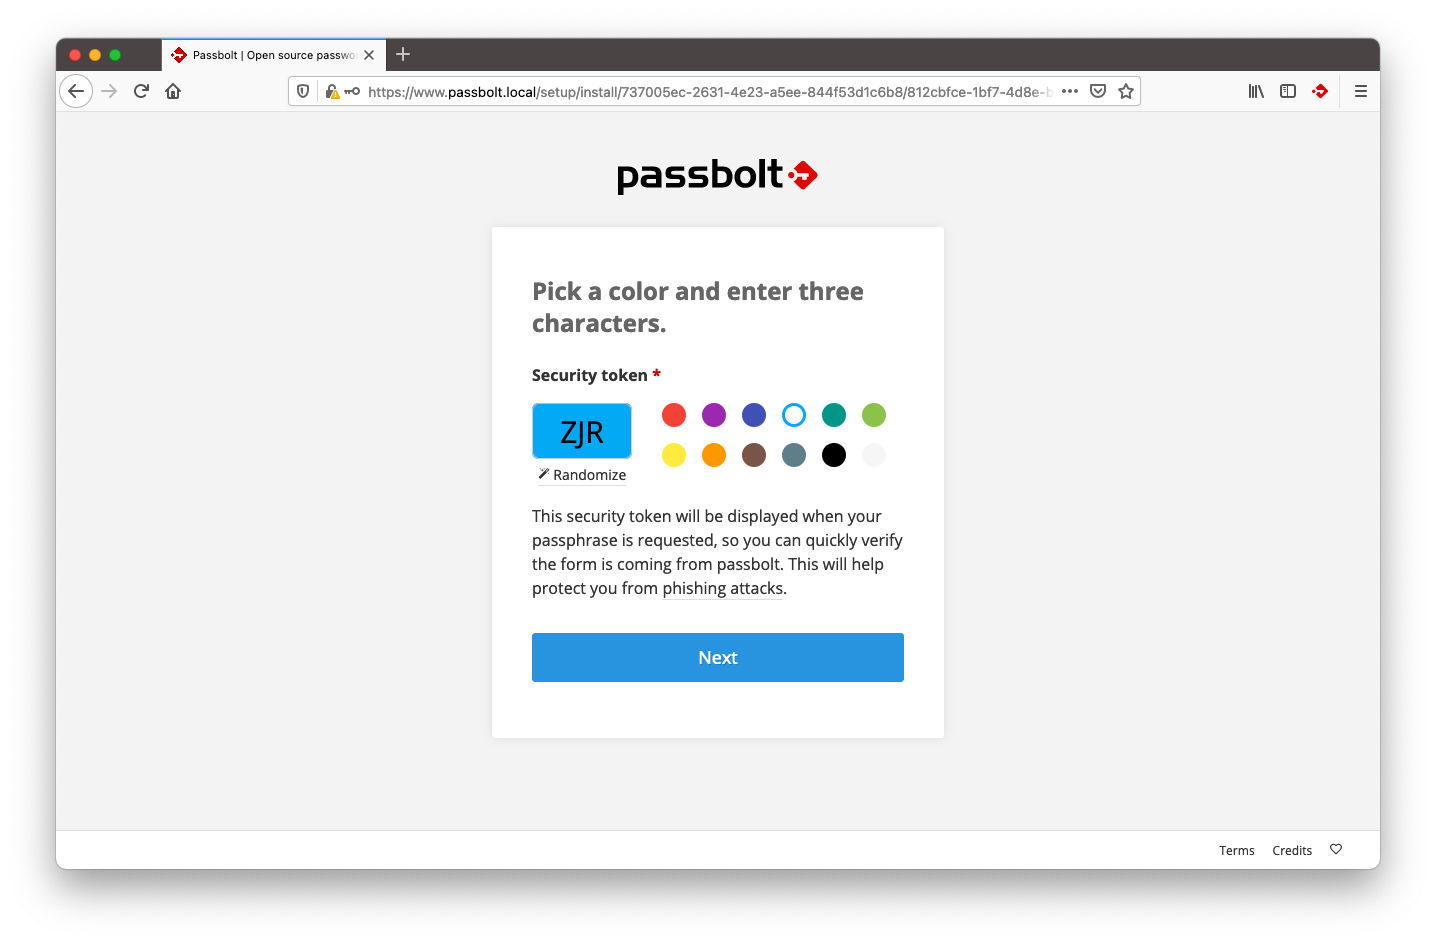
3.4. Define your security token
Choosing a color and a three characters token is a secondary security mechanism that helps you to mitigate phishing attacks. Each time you are performing a sensitive operation on passbolt, you should see this token.
3.5. That's it!
Your administrator account is configured. You will be redirected to the login page of passbolt. Enjoy!