Migrate to a new Ubuntu Server
This document describes how to migrate an existing passbolt to a new Ubuntu server.
Pre-requisites
For this tutorial, you will need:
- Passbolt installed on an old server
- A minimal Ubuntu 24.04 new server
Backup the existing data
Prior to the migration you will need to backup the existing passbolt instance data. Please refer to the official backup documentations.
Depending on your SSL configuration you might need to copy the certificate and key from the existing instance. If you are using let’s encrypt you can continue you’ll configure it later directly in the new server.
Don’t delete the existing instance yet!
Prepare the new Ubuntu server
Package repository setup
For easier installation and update tasks Passbolt provides a package repository that you need to setup before you download Passbolt PRO and install it.
Step 1. Download our dependencies installation script:
wget "https://download.passbolt.com/pro/installer/passbolt-repo-setup.pro.sh"
Step 2. Download our SHA512SUM for the installation script:
wget https://github.com/passbolt/passbolt-dep-scripts/releases/latest/download/passbolt-pro-SHA512SUM.txt
Step 3. Ensure that the script is valid and execute it:
sha512sum -c passbolt-pro-SHA512SUM.txt && sudo bash ./passbolt-repo-setup.pro.sh || echo "Bad checksum. Aborting" && rm -f passbolt-repo-setup.pro.sh
Install passbolt official linux package
sudo apt install passbolt-pro-server
Configure mariadb
If not instructed otherwise passbolt Debian package will install mariadb-server locally. This step will help you create an empty mariadb database for passbolt to use.
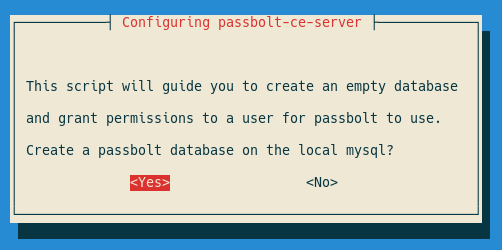
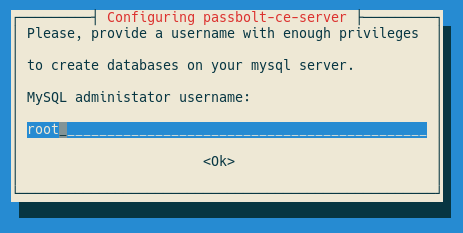
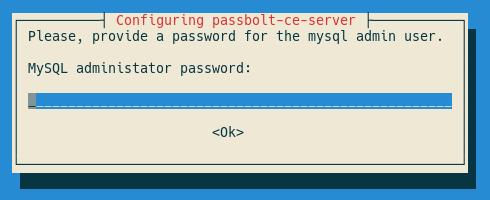
The configuration process will ask you for the credentials of the
mariadb admin user to create a new database. By default in most
installations the admin username would be root and the password
would be empty.
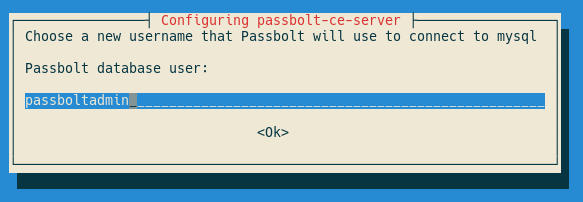
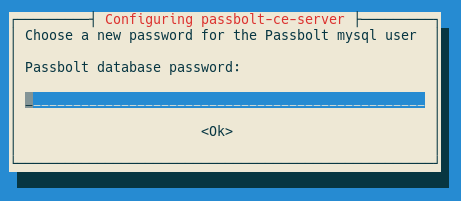
Now we need to create a mariadb user with reduced permissions for passbolt to connect. These values will also be requested later on the webconfiguration tool of passbolt so please keep them in mind.
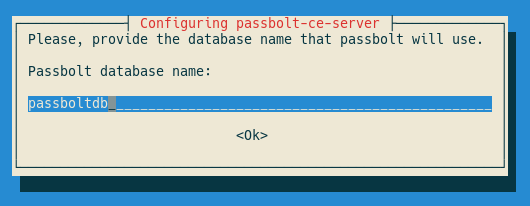
Lastly we need to create a database for passbolt to use, for that we need to name it:
Configure nginx for serving HTTPS
Depending on your needs there are two different options to setup nginx and SSL using the Ubuntu package:Migrate data
Load the backup files into the new server, for the following tasks we will consider that the backup files are in your user home directory ~/backup
You should have:
- Your subscription key
- The private and public GPG keys
- Your database dump
- The avatar archive file
passbolt-avatars.tar.gzif you are coming from Passbolt prior to 3.2
Step 1. Create the subscription key file
You received your subscription key by email, copy it as `/etc/passbolt/subscription_key.txt` on your server.
Step 2. Restore Passbolt configuration file and ensure rights and ownership are correct:
sudo mv ~/backup/passbolt.php /etc/passbolt
sudo chown www-data:www-data /etc/passbolt/passbolt.php
sudo chmod 440 /etc/passbolt/passbolt.php
sudo chown www-data:www-data /etc/passbolt/subscription_key.txt
Datasources from /etc/passbolt/passbolt.php
Step 3. Restore GPG public and private keys and ensure rights and ownership are correct:
sudo mv ~/backup/serverkey.asc /etc/passbolt/gpg
sudo mv ~/backup/serverkey_private.asc /etc/passbolt/gpg
sudo chown www-data:www-data /etc/passbolt/gpg/serverkey_private.asc
sudo chown www-data:www-data /etc/passbolt/gpg/serverkey.asc
sudo chmod 440 /etc/passbolt/gpg/serverkey.asc
sudo chmod 440 /etc/passbolt/gpg/serverkey_private.asc
Step 4. Extract the passbolt-avatars.tar.gz archive and set correct rights (if coming from Passbolt version prior to 3.2)
sudo tar xzf passbolt-avatars.tar.gz -C /usr/share/php/passbolt/
sudo chown -R www-data:www-data /usr/share/php/passbolt/webroot/img/public
Step 5. Load the database
mysql -u PASSBOLT_DATABASE_USER -p PASSBOLT_DATABASE < passbolt-backup.sql
Step 6. Import the server key
sudo su -s /bin/bash -c "gpg --home /var/lib/passbolt/.gnupg --import /etc/passbolt/gpg/serverkey_private.asc" www-data
Step 7. Migrate passbolt to the latest version
sudo -H -u www-data /bin/bash -c "/usr/share/php/passbolt/bin/cake passbolt migrate"
Step 8. Test passbolt
Try to access your passbolt application with your browser.
If you are encountering any issues, you can run the following command to assess the status of your instance:
sudo -H -u www-data /bin/bash -c "/usr/share/php/passbolt/bin/cake passbolt healthcheck"