Migrate to a new Virtual Appliance Server
Passbolt Pro provides a virtual appliance in OVA format. Users can import this appliance on their private virtualization platform and start enjoying Passbolt Pro. The VM includes the following software:
- Debian 13
- Nginx
- Php-fpm
- Mariadb
- Passbolt Pro Preinstalled
- certbot
1. Getting started with Passbolt Pro VM
1.1 Download
Download the ova and the SHA512SUM.txt:
Import the ova file using virtualbox, vmware (ESXi >= 6.0) or any other platform that supports import OVA files.
Once imported, it is highly recommanded to check if the VM is actually running as Debian (64-bit). In order to do that, just open VM's settings and it should show on which version it is running on. Now, you should be able to boot the VM and just point to the VM ip address with their web browser to initiate the passbolt install process.
1.2 Credentials
The appliance performs some actions on the first boot:
- Creates ssh host keys
- Enables ssh
- Creates a set of random mariadb credentials for the mariadb server installed on the appliance
- Creates an empty database where passbolt can be installed.
For the first login the appliance comes with the following ssh default credentials:
VM login credentials:
username: passbolt
password: admin
The passbolt user is part of sudo group. There is no root password, so you cannot
login in as root. You can however create a shell as root with the default user:
sudo -s
1.3 Configure HTTPS
If you prefer to proceed to the HTTP installation and re-configure HTTPS later this is likely the standard process so you don't need to follow this section.
You will need to create a file containing the subscription key in /etc/passbolt/subscription_key.txt and change the ownership to www-data
sudo chown www-data:www-data /etc/passbolt/subscription_key.txt
When it comes to SSL, the virtual appliance uses passbolt debian package. Depending on your needs there are two different options to setup HTTPS:
Configure nginx for serving HTTPS
Depending on your needs there are two different options to setup nginx and TLS (SSL):
2. Configure passbolt
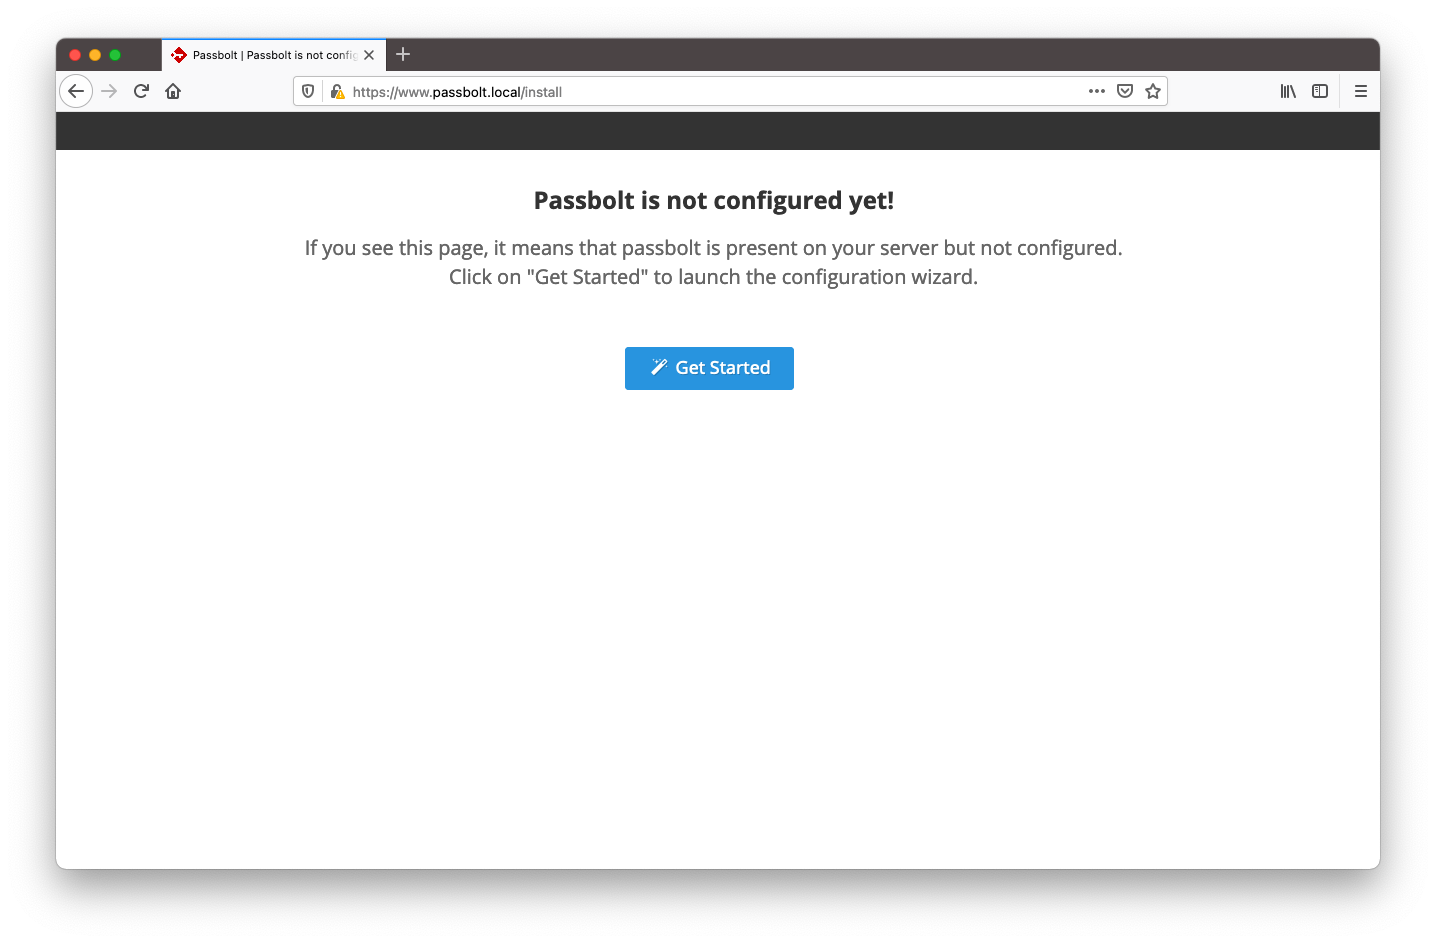
Before you can use the application, you need to configure it. Point your browser to the hostname / ip where passbolt can be reached. You will reach a getting started page.
2.1. Healthcheck
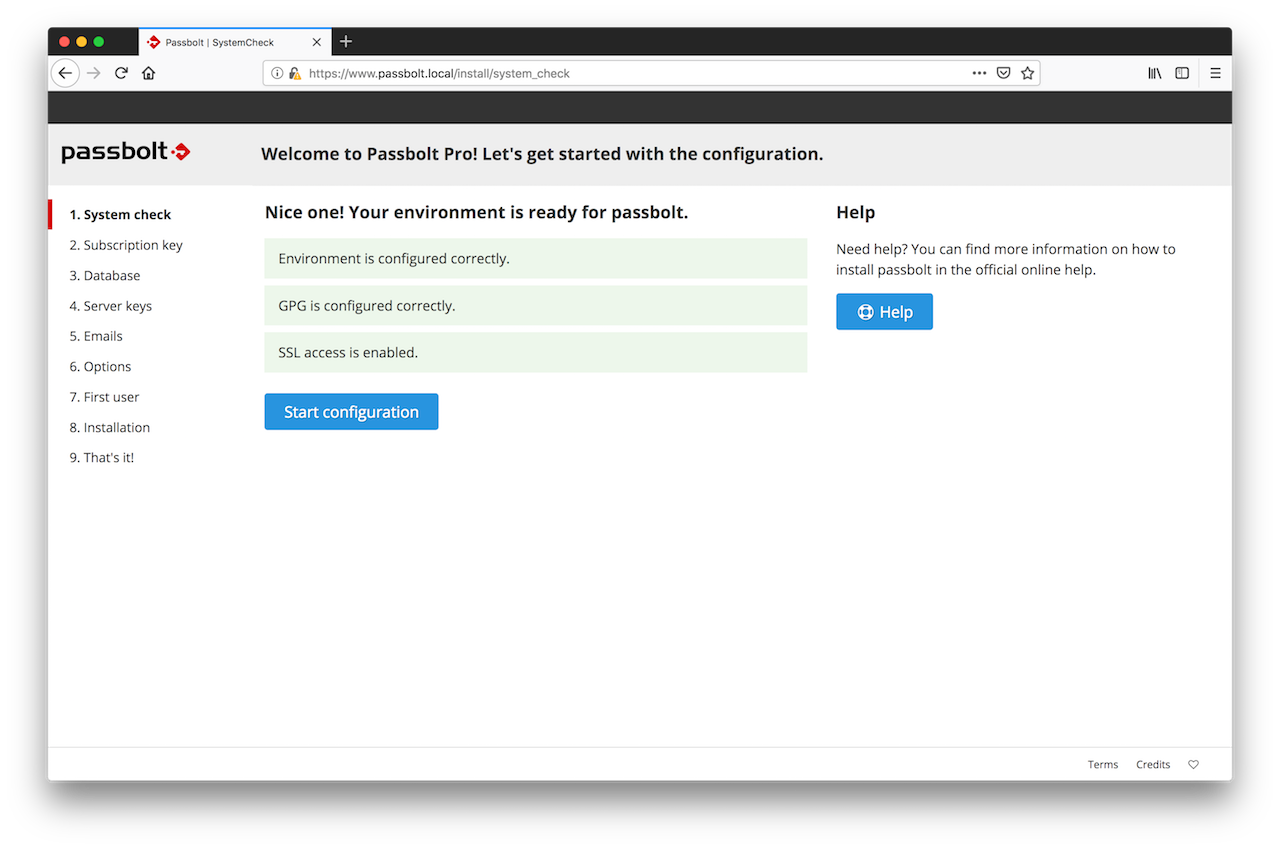
The first page of the wizard will tell you if your environment is ready for passbolt. Solve issues if any and click on "Start configuration" when ready.
2.2. Subscription Key
At this step, the wizard will ask you for your subscription key. You should have received it by email soon after your online purchase. Enter it in the box.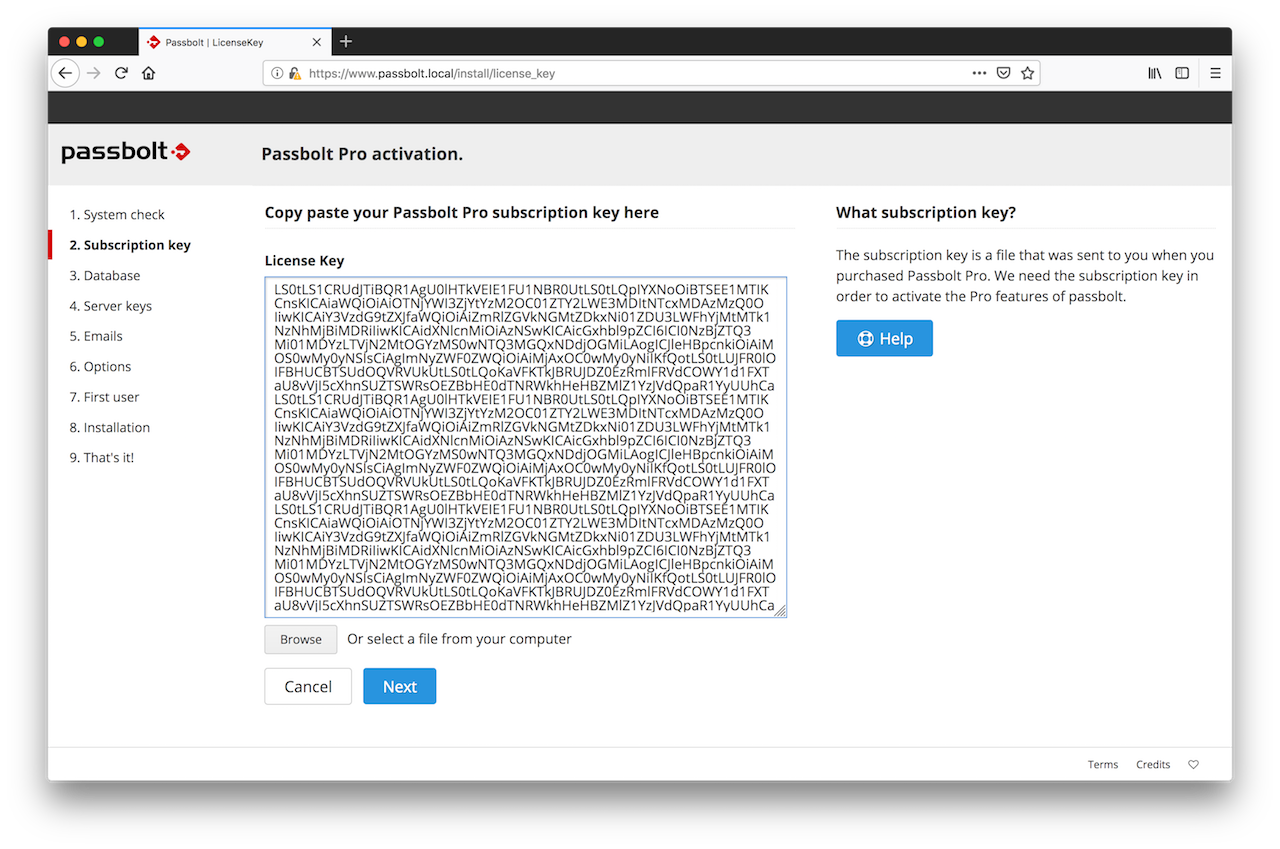
2.3. Database
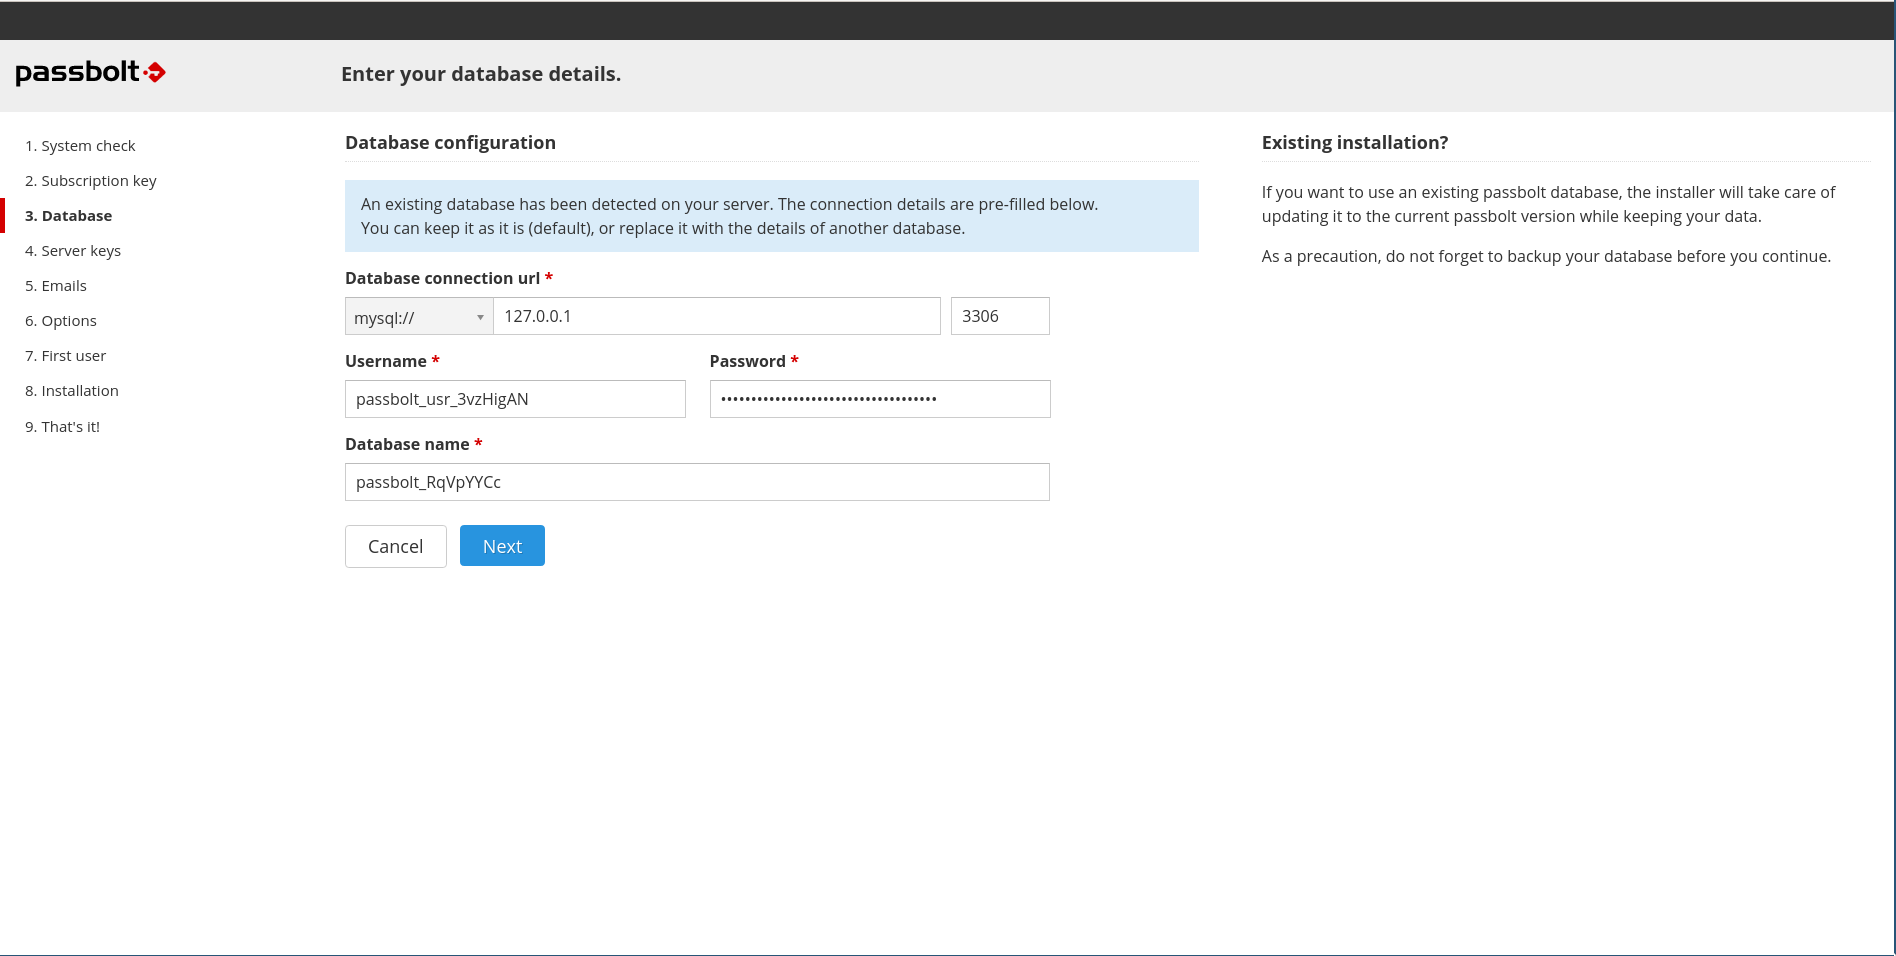
Passbolt Virtual Appliance comes with a preinstalled mariadb database. The credentials for this database are randomly generated on the first boot and the webinstaller autofills those credentials for you.
The autogenerated database credentials will be available for later use by administrators in /etc/passbolt/passbolt.php file.
If you decide to use the autogenerated credentials you can click the "Next" button and move to the next step on this tutorial.
Optional: In case you do not want to use the autogenerated mariadb credentials you could connect through ssh to your instance and use the mariadb root credentials to create a new user, password and database for passbolt to use:
ssh admin@your_domain|instance_ipYou can find the root database credentials in /root/.mysql_credentials file:
sudo cat /root/.mysql_credentialsOnce you have the root database credentials you can connect to the local mariadb and create any database and user you want to use to install passbolt.
2.4. GPG Key
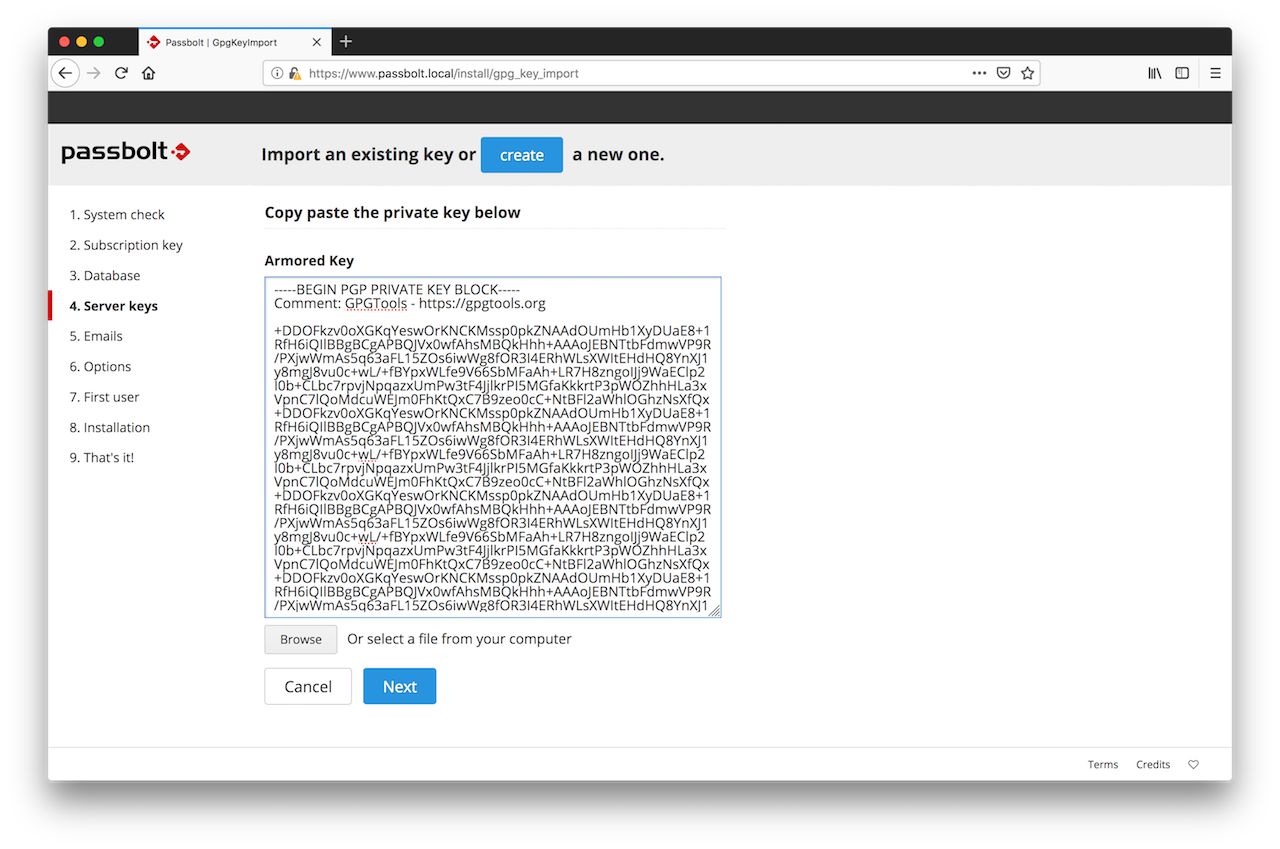
In this section you can either generate or import a GPG key pair. This key pair will be used by passbolt API to authenticate itself during the login handshake process. Generate a key if you don't have one.
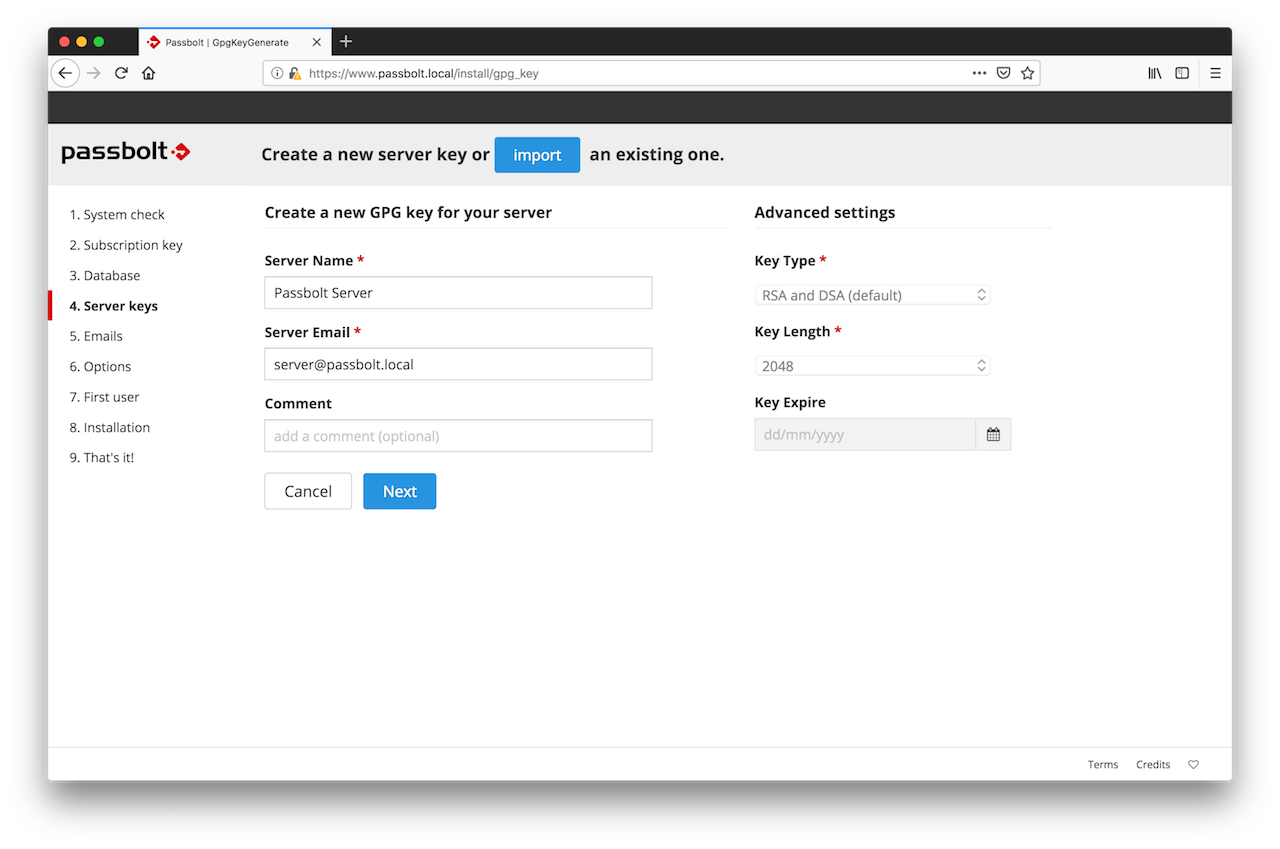
Import a key if you already have one and you want your server to use it.
Since GnuPG 2.2.0+, the default key type is ECC (Curve25519/Ed25519) instead of RSA. However, ECC keys may not support passphrase-less generation reliably across all environments or configurations. We recommend using RSA explicitly to ensure consistent passphrase-less key generation.
To create a new GnuPG key without passphrase:
gpg --batch --no-tty --gen-key <<EOF
  Key-Type: RSA
  Key-Length: 3072
  Key-Usage: sign,cert
  Subkey-Type: RSA
  Subkey-Usage: encrypt
  Subkey-Length: 3072
  Name-Real: John Doe
  Name-Email: [email protected]
  Expire-Date: 0
  %no-protection
  %commit
EOF
Feel free to replace Name-Real and Name-Email with your own.
To display your new key:
gpg --armor --export-secret-keys [email protected]
2.5. Mail Server (SMTP)
At this stage, the wizard will ask you to enter the details of your SMTP server.
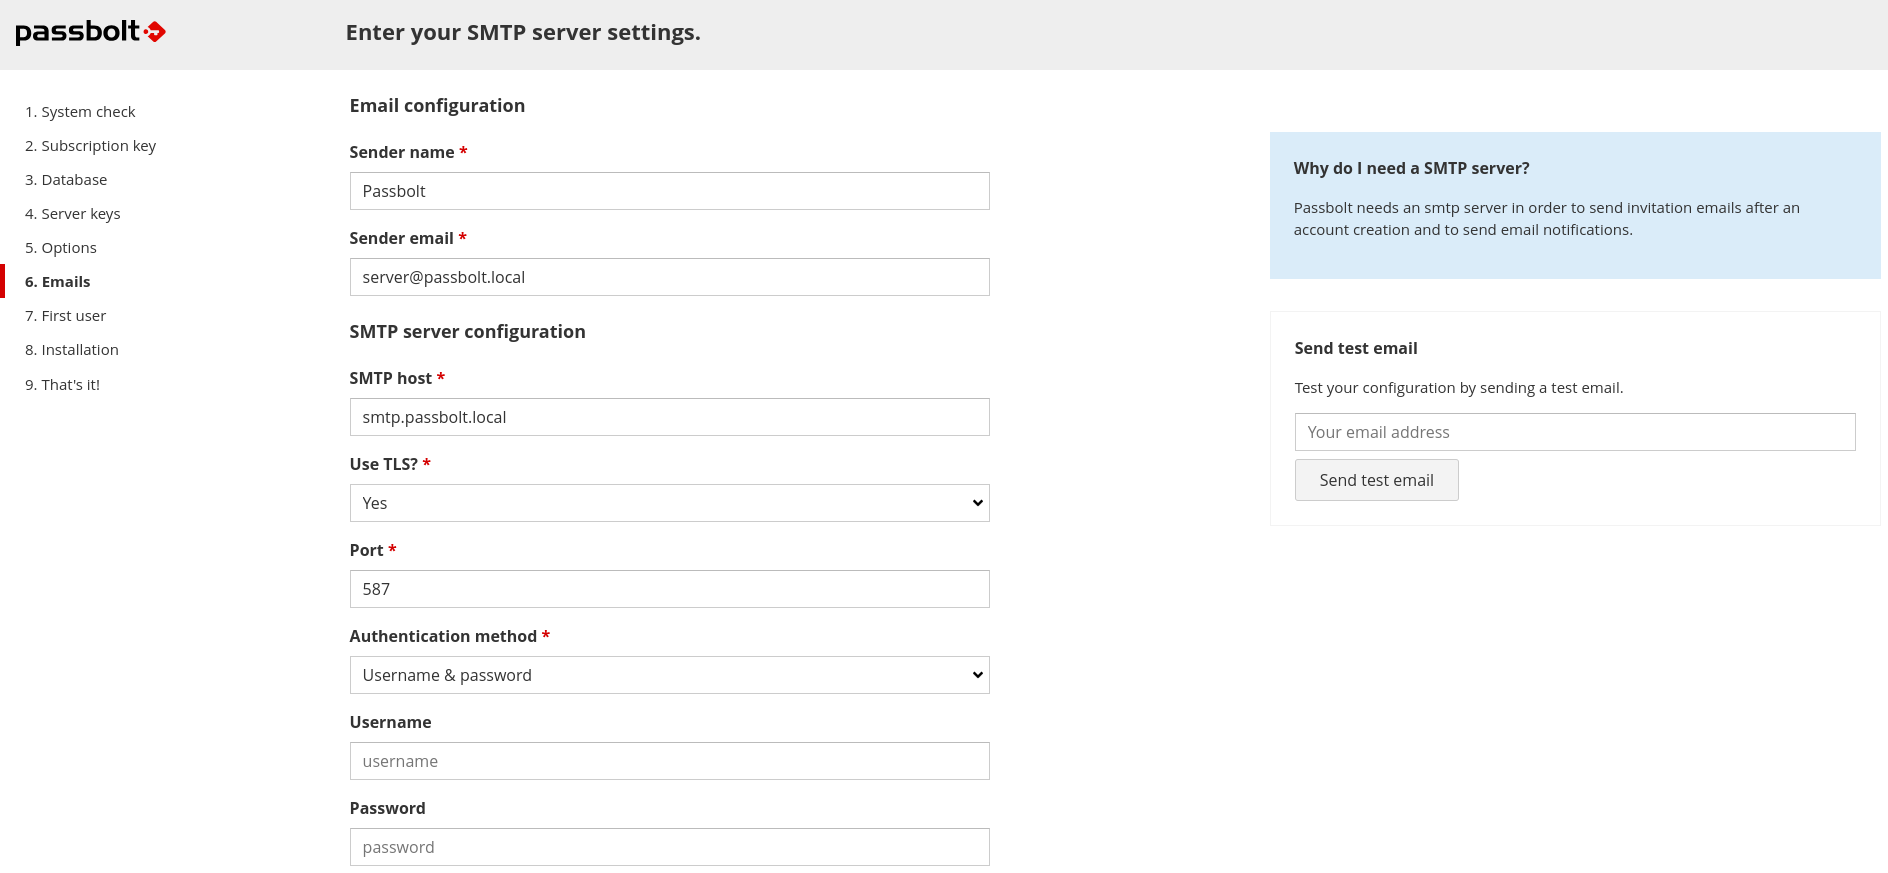
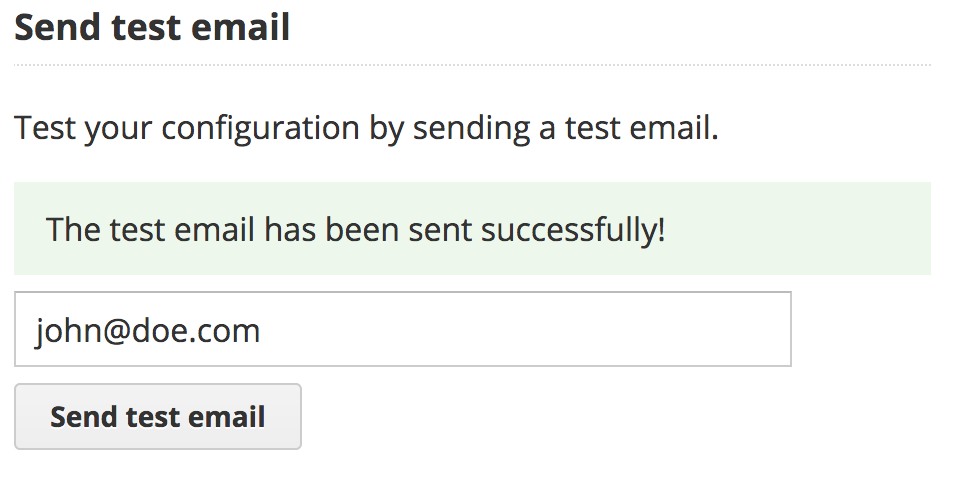
You can also test that your configuration is correct by using the test email feature at the right of your screen. Enter the email address at which you want the wizard to send you a test email and click on "Send test email".
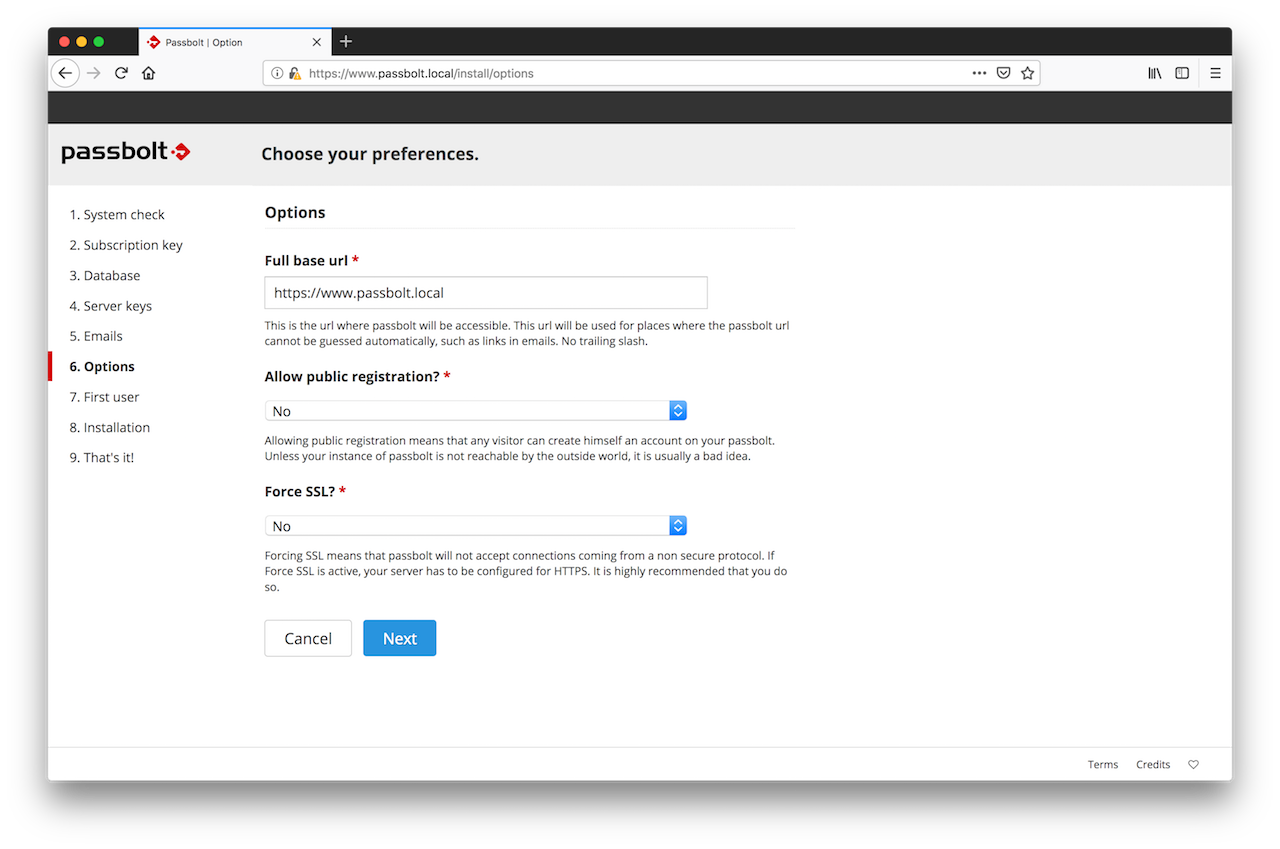
2.6. Preferences
The wizard will then ask you what preferences you prefer for your instance of passbolt. The recommended defaults are already pre-populated but you can also change them if you know what you are doing.
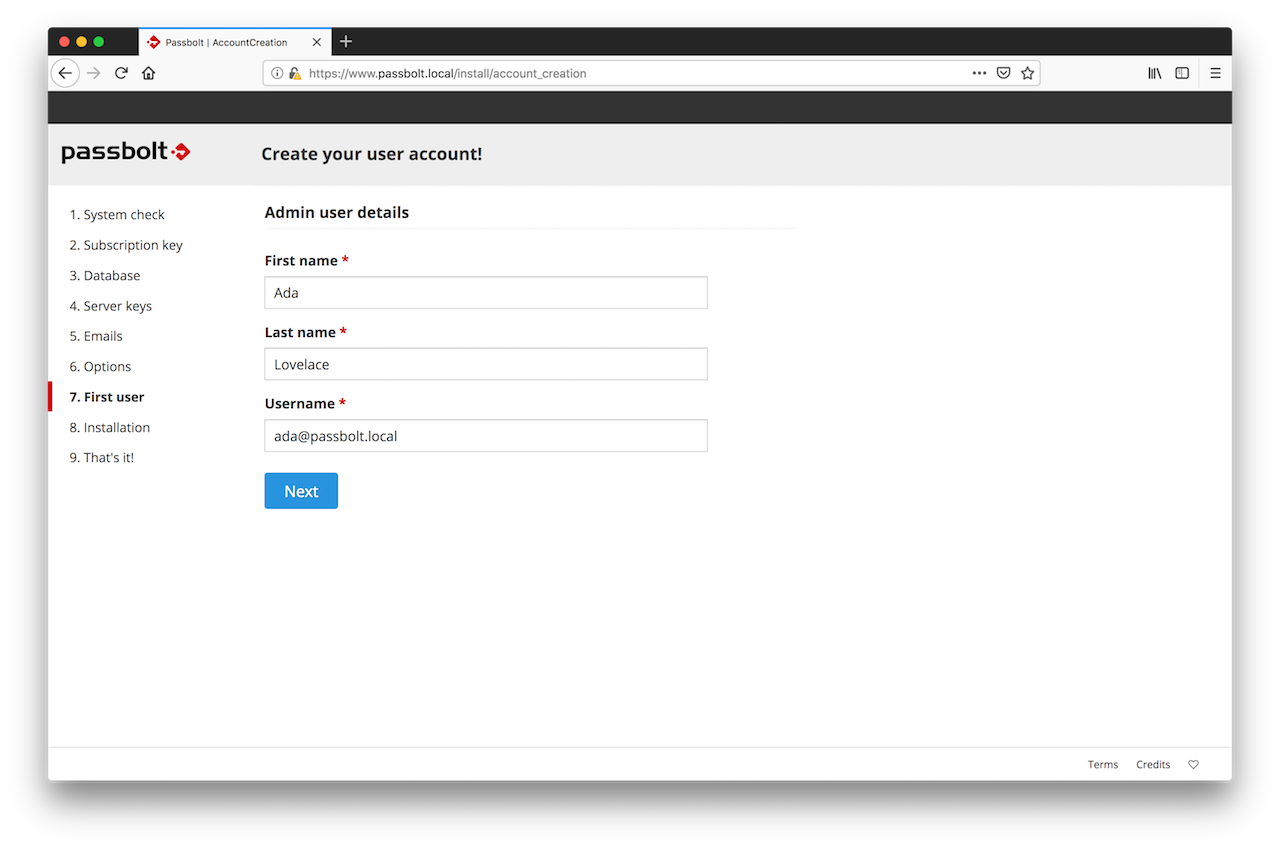
2.7. First User Creation
You need to create the first admin user account. This first admin user is probably you, so enter your details and click on next.
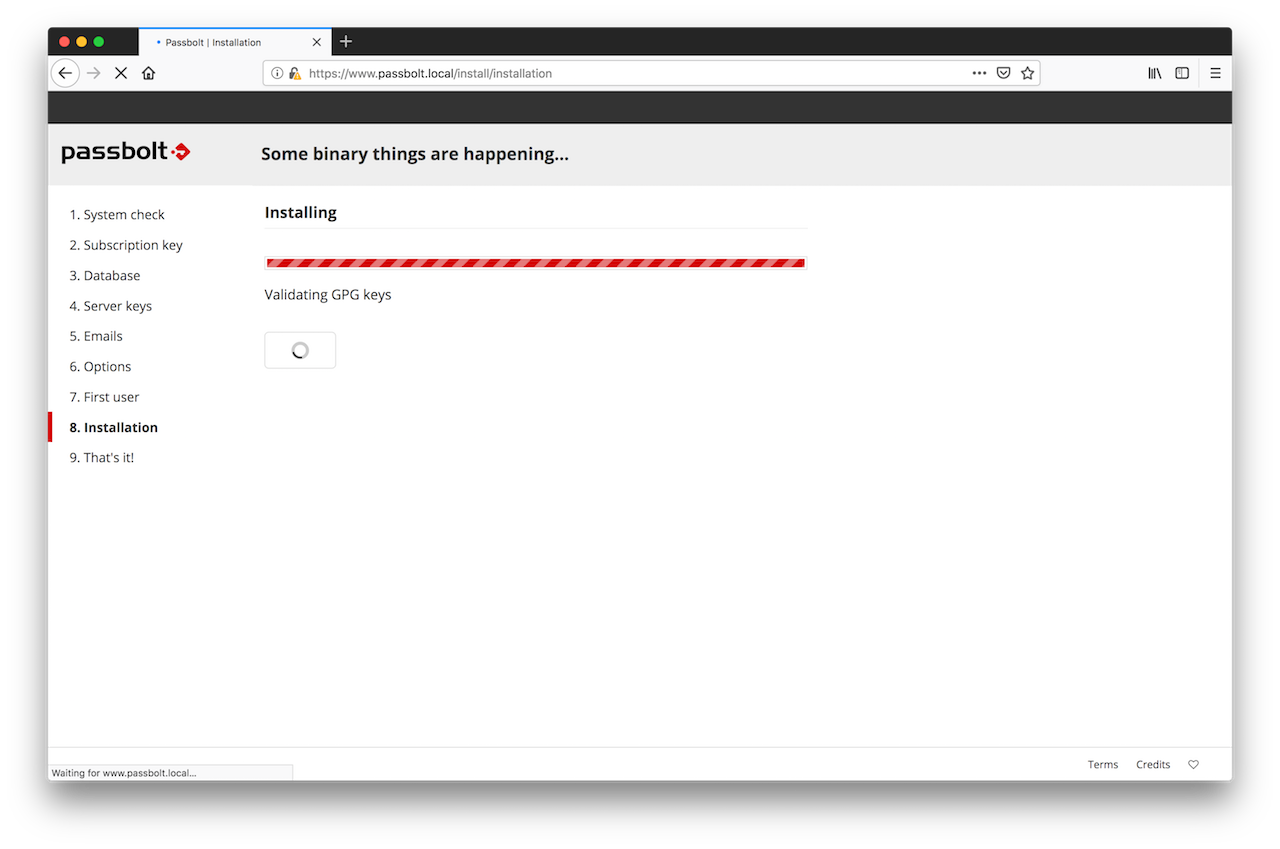
2.8. Installation
That's it. The wizard has now enough information to proceed with the configuration of passbolt. Sit back and relax for a few seconds while the configuration process is going on.
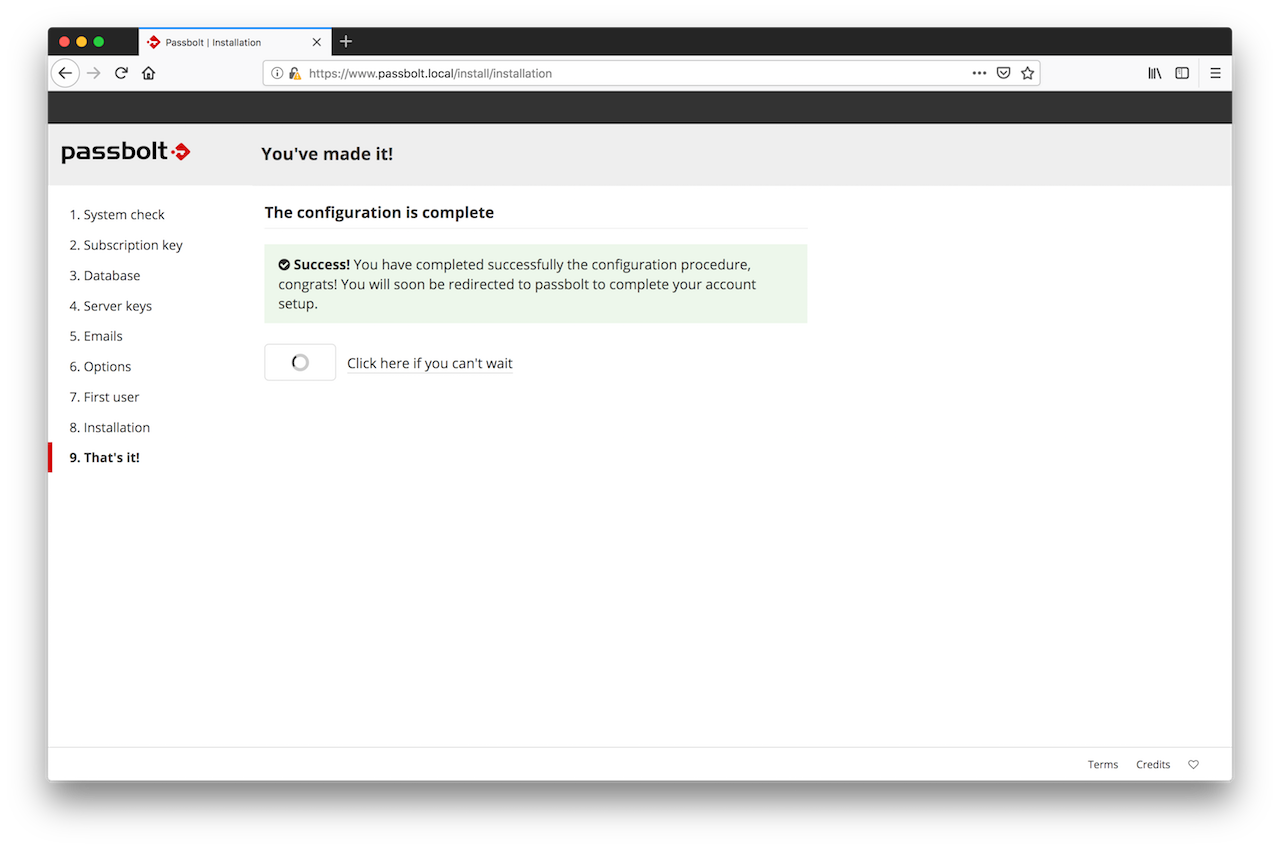
Your user account is now created. You will see a redirection page for a few second and then will be redirected to the user setup process so that you can configure your user account.
Migrate data
Load the backup files into the new server, for the following tasks we will consider that the backup files are in your user home directory ~/backup
You should have:
- Your subscription key
- The private and public GPG keys
- Your database dump
Step 1. Create the subscription key file
You received your subscription key by email, copy it as `/etc/passbolt/subscription_key.txt` on your server.
Step 2. Restore Passbolt configuration file and ensure rights and ownership are correct:
sudo mv ~/backup/passbolt.php /etc/passbolt
sudo chown www-data:www-data /etc/passbolt/passbolt.php
sudo chmod 440 /etc/passbolt/passbolt.php
sudo chown www-data:www-data /etc/passbolt/subscription_key.txt
Datasources from /etc/passbolt/passbolt.php
Step 3. Restore GPG public and private keys and ensure rights and ownership are correct:
sudo mv ~/backup/serverkey.asc /etc/passbolt/gpg
sudo mv ~/backup/serverkey_private.asc /etc/passbolt/gpg
sudo chown www-data:www-data /etc/passbolt/gpg/serverkey_private.asc
sudo chown www-data:www-data /etc/passbolt/gpg/serverkey.asc
sudo chmod 440 /etc/passbolt/gpg/serverkey.asc
sudo chmod 440 /etc/passbolt/gpg/serverkey_private.asc
Step 4. Remove the empty inserted tables
sudo su -s /bin/bash -c "/usr/share/php/passbolt/bin/cake passbolt drop_tables" www-data
Step 5. Load the backup into the database
mysql -u PASSBOLT_DATABASE_USER -p PASSBOLT_DATABASE < passbolt-backup.sql
Step 6. Import the server key
sudo su -s /bin/bash -c "gpg --home /var/lib/passbolt/.gnupg --import /etc/passbolt/gpg/serverkey_private.asc" www-data
Step 7. Migrate passbolt to the latest version
sudo -H -u www-data /bin/bash -c "/usr/share/php/passbolt/bin/cake passbolt migrate"
Step 8. Test passbolt
Try to access your passbolt application with your browser.
If you are encountering any issues, you can run the following command to assess the status of your instance:
sudo -H -u www-data /bin/bash -c "/usr/share/php/passbolt/bin/cake passbolt healthcheck"