6 min. read
Passbolt Adds Collaborative Management of Third-Party TOTPs
The latest update to Passbolt now enables teams to share Time-based One-Time Passwords (TOTP) across both mobile and web platforms.

When it comes to improving collaboration within a password manager, Single Sign-On (SSO) is a game-changer. SSO allows users to easily log in to multiple platforms and services using a single set of well-known credentials, reducing the burden of memorising multiple passwords.
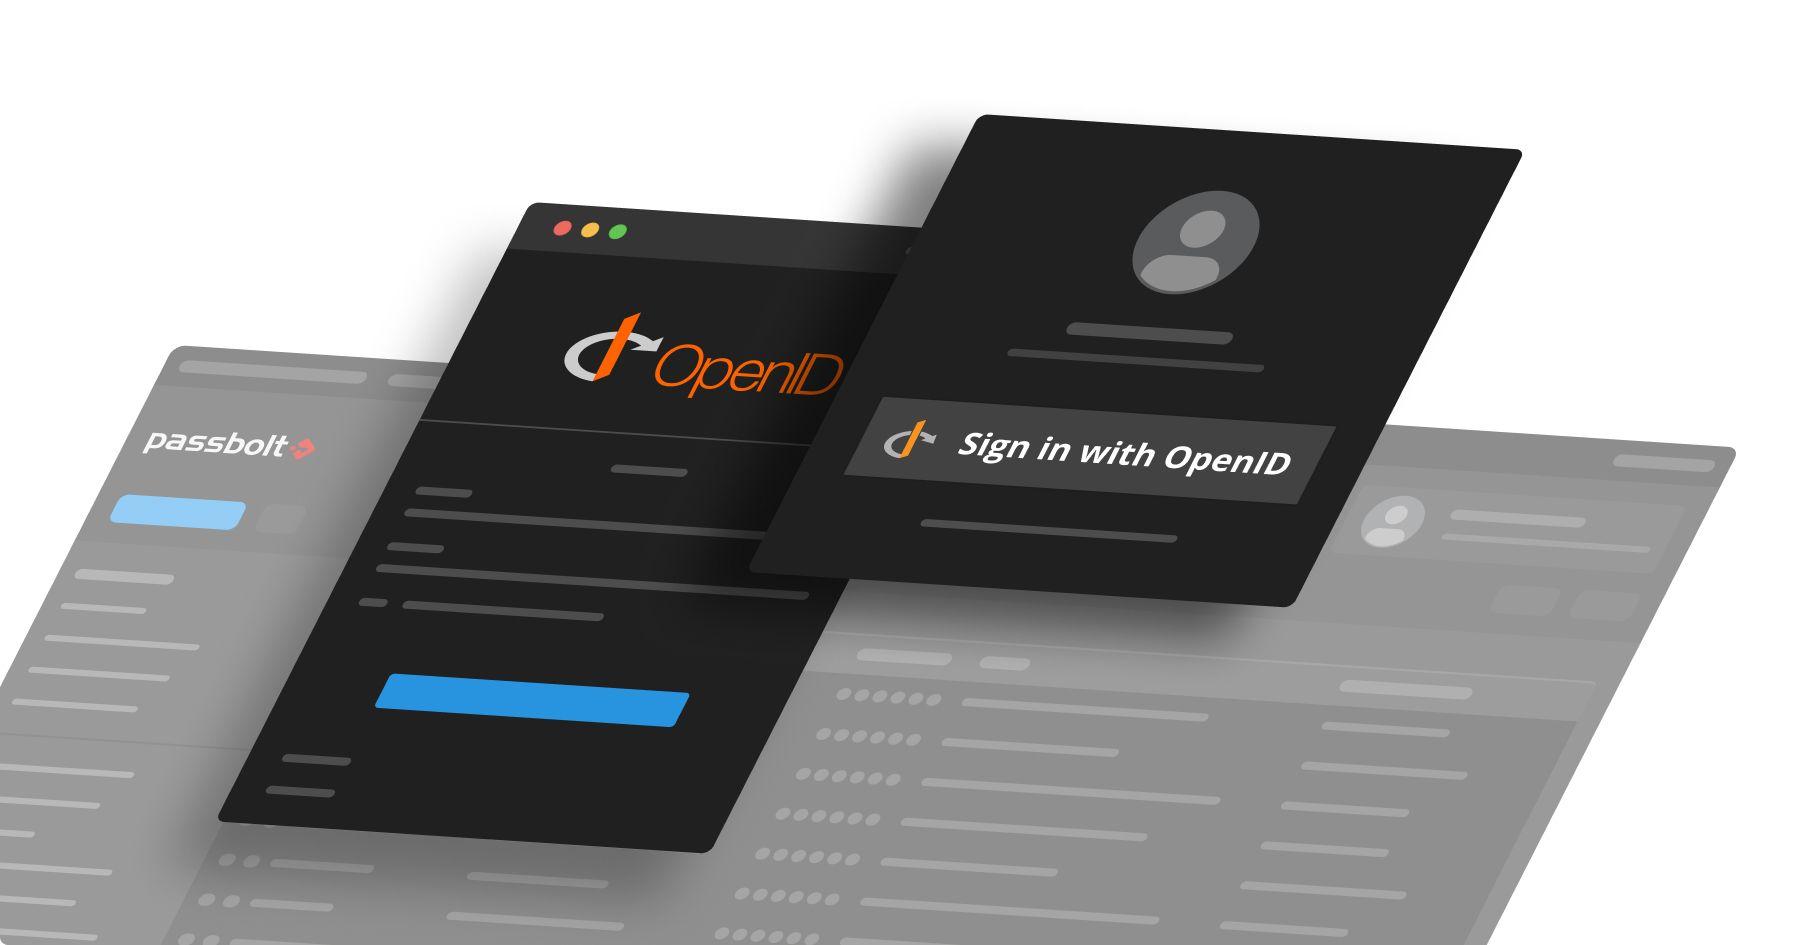
Since version 4.0, the pro edition of passbolt has supported SSO via two of the most widely used enterprise identity providers: Microsoft Azure and Google. Both integrations are based on OAuth2.0 and OpenID standards. But what’s even more exciting: As of version 4.4, passbolt also supports a generic provider based on the same standards.

OpenID is a decentralised, open-standard authentication protocol. It allows users to sign in to multiple websites and applications using a single digital identity. The protocol is widely used by the majority of large tech companies and other proprietary identity services, including Okta and Auth0.
It’s also used by open source identity platforms like Keycloak! The choice of an open source identity provider provides more integration flexibility, supports data sovereignty, and prevents vendor lock-in. While this path may be challenging for some organisations to implement, it’s rewarding if you have the capacity to deploy and maintain it over the long term.
Whether you want to integrate passbolt with proprietary or open-source software, this new generic provider is made for you!
The OAuth2 and OpenID standards come with many different options and flavours. For the first release, passbolt supports one of the most popular configurations. It’s called the “OAuth2 Authorisation Code Flow.”
In a nutshell, the process starts with the user being redirected to the provider. Once there, the user logs in, which triggers the provider to redirect the user with a code to passbolt. From there, passbolt sends this code and a shared secret back to the provider. And the provider returns a signed token (JSON Web Token or JWT) containing the user’s information (also called claims). This token is used by passbolt to ultimately identify the user. It sounds like a lot, but this all happens very quickly.

On the provider side, configuring the process requires creating an application to support the flow. The correct redirect URL needs to be added to this application, which is typically something similar to: https://[YOUR_PASSBOLT_URL]/sso/oauth2/redirect. You'll also need to create a secret for passbolt to use to authenticate against the provider. Finally, make sure the email claim is enabled. It will be used to validate the identity in passbolt, so it’s very important that the email claim is present.
On the passbolt side, you’ll need a working instance of the Pro Edition. The instance should be at least version 4.4 with a valid domain name and an SSL certificate. In order for passbolt and the provider to communicate properly, you will need to allow an outbound network connection from passbolt to the provider.

The OpenID connector is not enabled by default. Using the OpenID option for SSO is disabled due to the heightened risk associated with a “rogue admin” scenario. This is due to the fact that, in contrast to Google and Azure, it’s not possible to hardcode the URL that the browser extension sends users to for authentication.
The connector can be enabled by setting the following environment variable to “true”:
PASSBOLT_PLUGINS_SSO_PROVIDER_OAUTH2_ENABLED=trueAs an alternative, that flag can also be enabled via the passbolt.php file. Once enabled, you’re ready to transfer information from your provider within the admin settings workspace.
Similar to other providers, once these settings are defined the admin will need to perform a test SSO. This ensures the newly created configuration is working properly.

What about user onboarding?
New users are automatically onboarded when they complete setup. They don’t need to perform any additional steps, the whole process runs quickly in the background. Allowing users to seamlessly authenticate.
Existing users are also automatically onboarded. However, they’ll need to log in once with their passphrase before the “Sign In With OpenID” button appears on the login page. Logging in allows device-bound cryptographic keys to be created that are then used during the SSO process.
Currently, for security reasons, the OpenID connector in passbolt doesn’t support setup on a new device via SSO. During setup, users must provide their email address and click on a link sent via email. Self-registration is also not supported at this time, a passbolt admin will need to invite a user via their email address.
Passbolt has plenty of plans for the future of SSO and other security improvements. The community's thoughts are a big part of that roadmap. Does this generic connector meet your needs? What additional requirements or options would you like to see supported? If you have any ideas for usability or security improvements, get in touch. If you take the OpenID connector for a spin, share your thoughts and feedback with the passbolt community.


6 min. read
The latest update to Passbolt now enables teams to share Time-based One-Time Passwords (TOTP) across both mobile and web platforms.

3 min. read
Introducing a much awaited feature that empowers administrators and enhances security without sacrificing usability: the "suspended" status option.